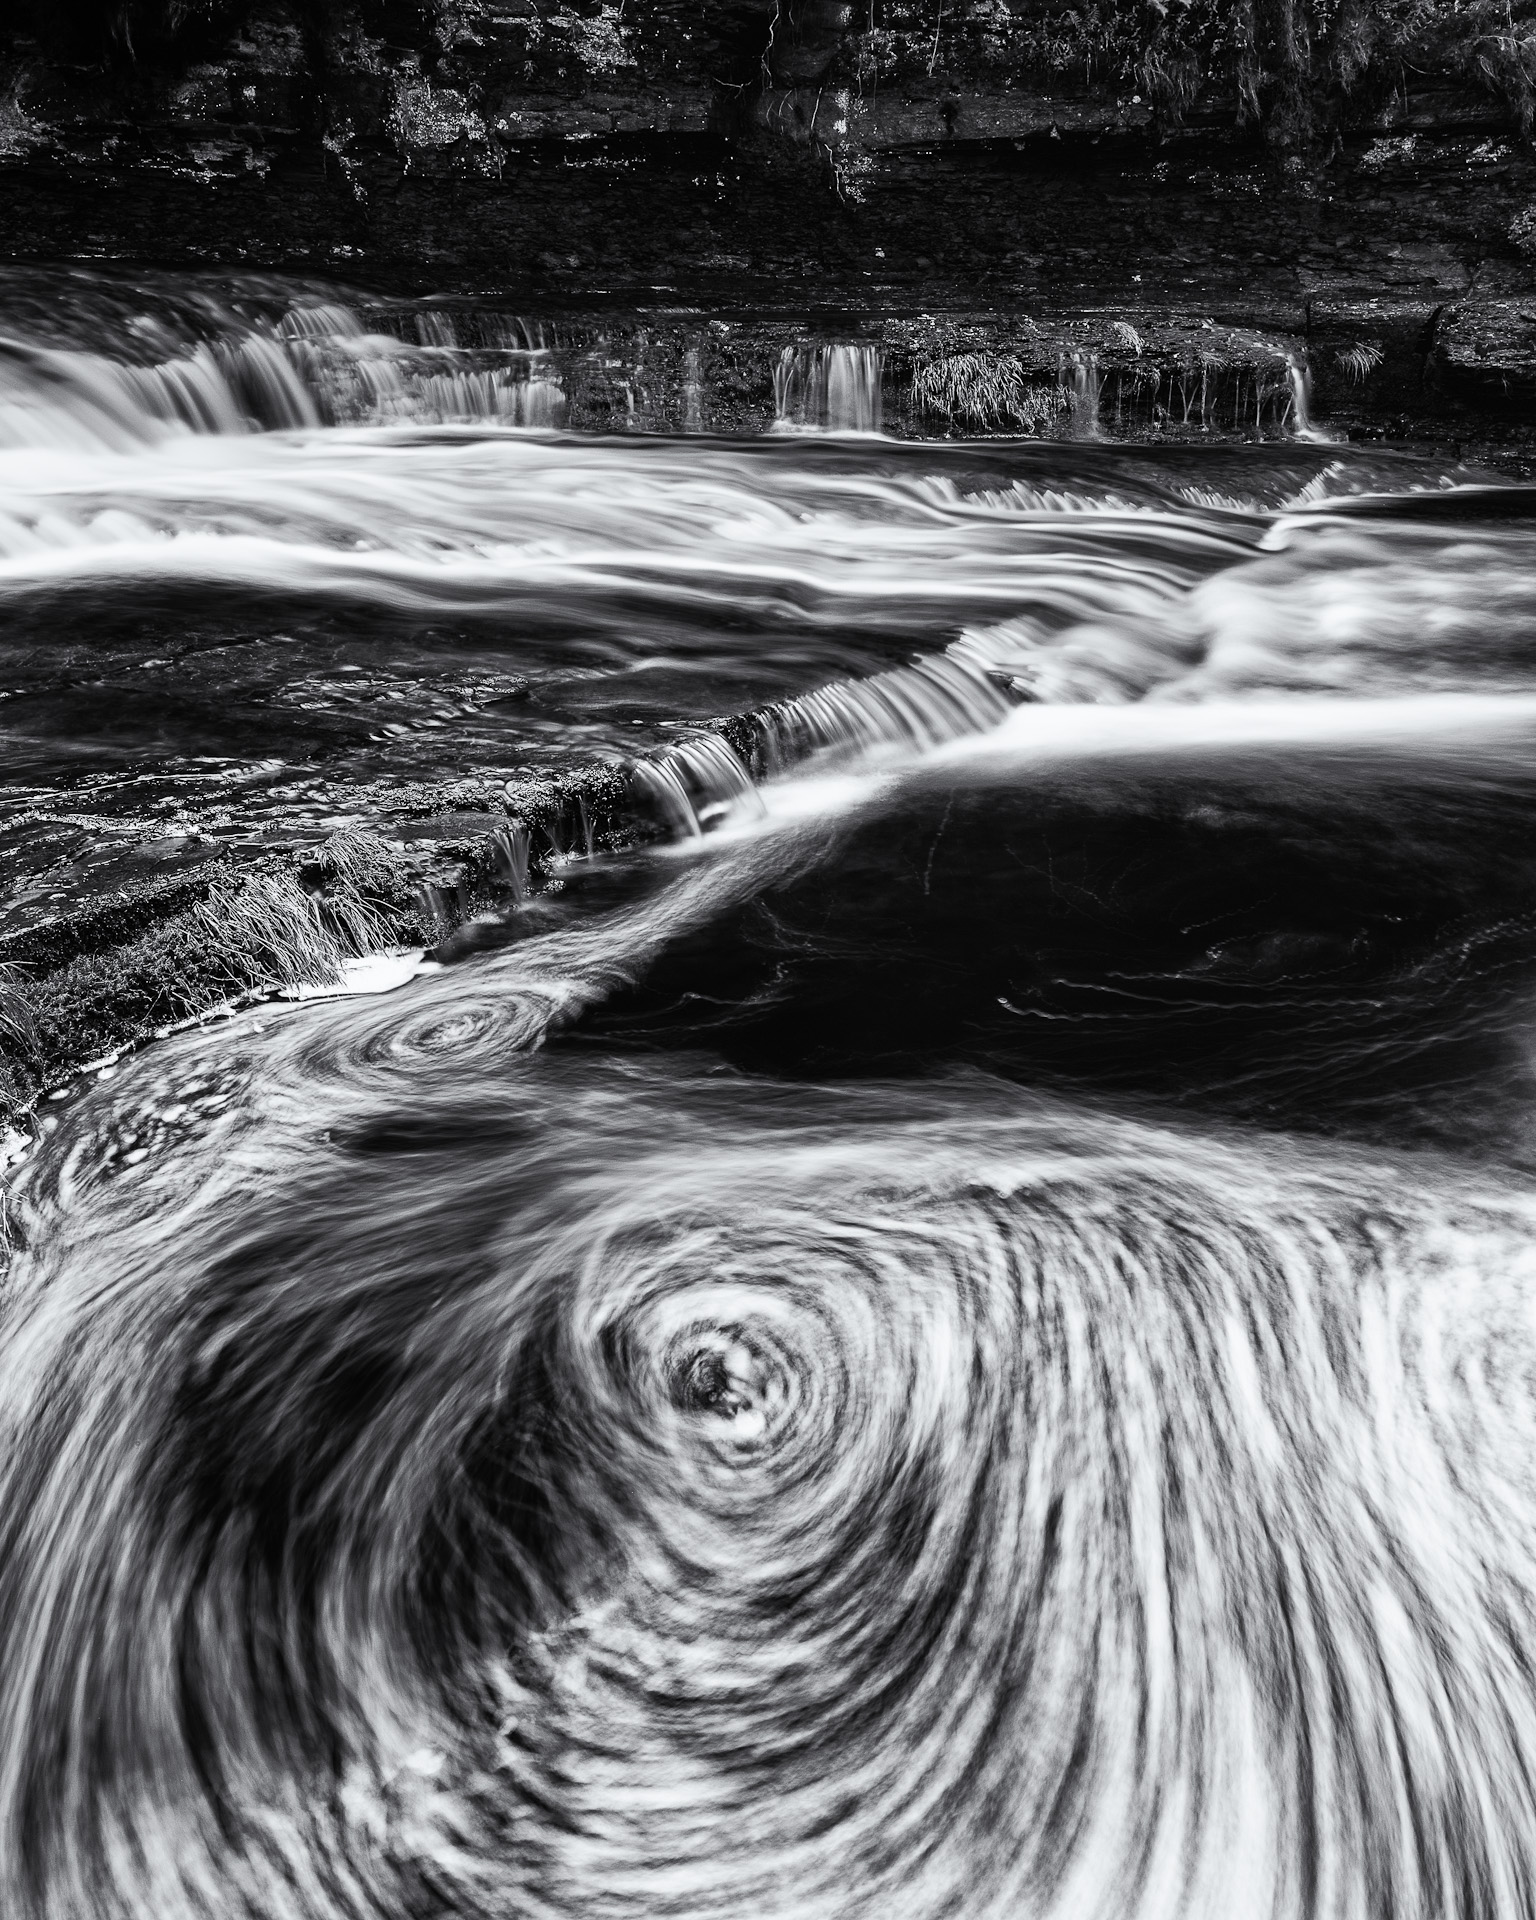
This is the first post in my new "Making the Image" series where I walk you through one of my images, how I approached and refined the shot as I "worked the scene".
One of the difficulties I found as a starting photographer was trying to understand why my photographs looked so different to the "professionals". It seemed like they just rocked up, took a magical shot and moved on.
There are a lot of instructional photography books talking about some of the ingredients to successful images (good light, composition, etc) but they are almost always illustrated with a "final shot" demonstrating the point under discussion but never the often messy, organic process that was used to get to that image. As such I don't think you quite "get in the head" of the photographer, what their process was like (and how messy it could be) and dispell the myth that it's possible to just pitch up and shoot gold. Indeed it seems to amplify that myth and that if you apply certain rules then you too can just turn up and create a magical shot.
I've decided to create this "Making the Image" series to provide that resource which I felt was missing. The intention is to show how I work and that shooting lots of - intentional - images is an ok, natural and perhaps even neccessary way to work. The key word here is "I". Others, including yourself, will approach their work differently. There's no correct way so equally - within reason - there's no incorrect way.
I think a lot of the time the thing that stands "successful" photos apart from "unsuccessful" photos is that the unsuccessful ones didn't go far enough in trying to uncover the essence of what interested them. It takes time spent exploring, observing and thinking to boil down the raw elements of the scene to a successful image. This is reflected in the phrase "working the scene". It's unlikely - though I've certainly done it - where your best image is your first one. It's more likely to be one of the later ones as you refine the shot and distill it down to its core. So if nothing else, keep exploring and shooting.
I hope you find this series useful in a way that I feel I would have starting out.
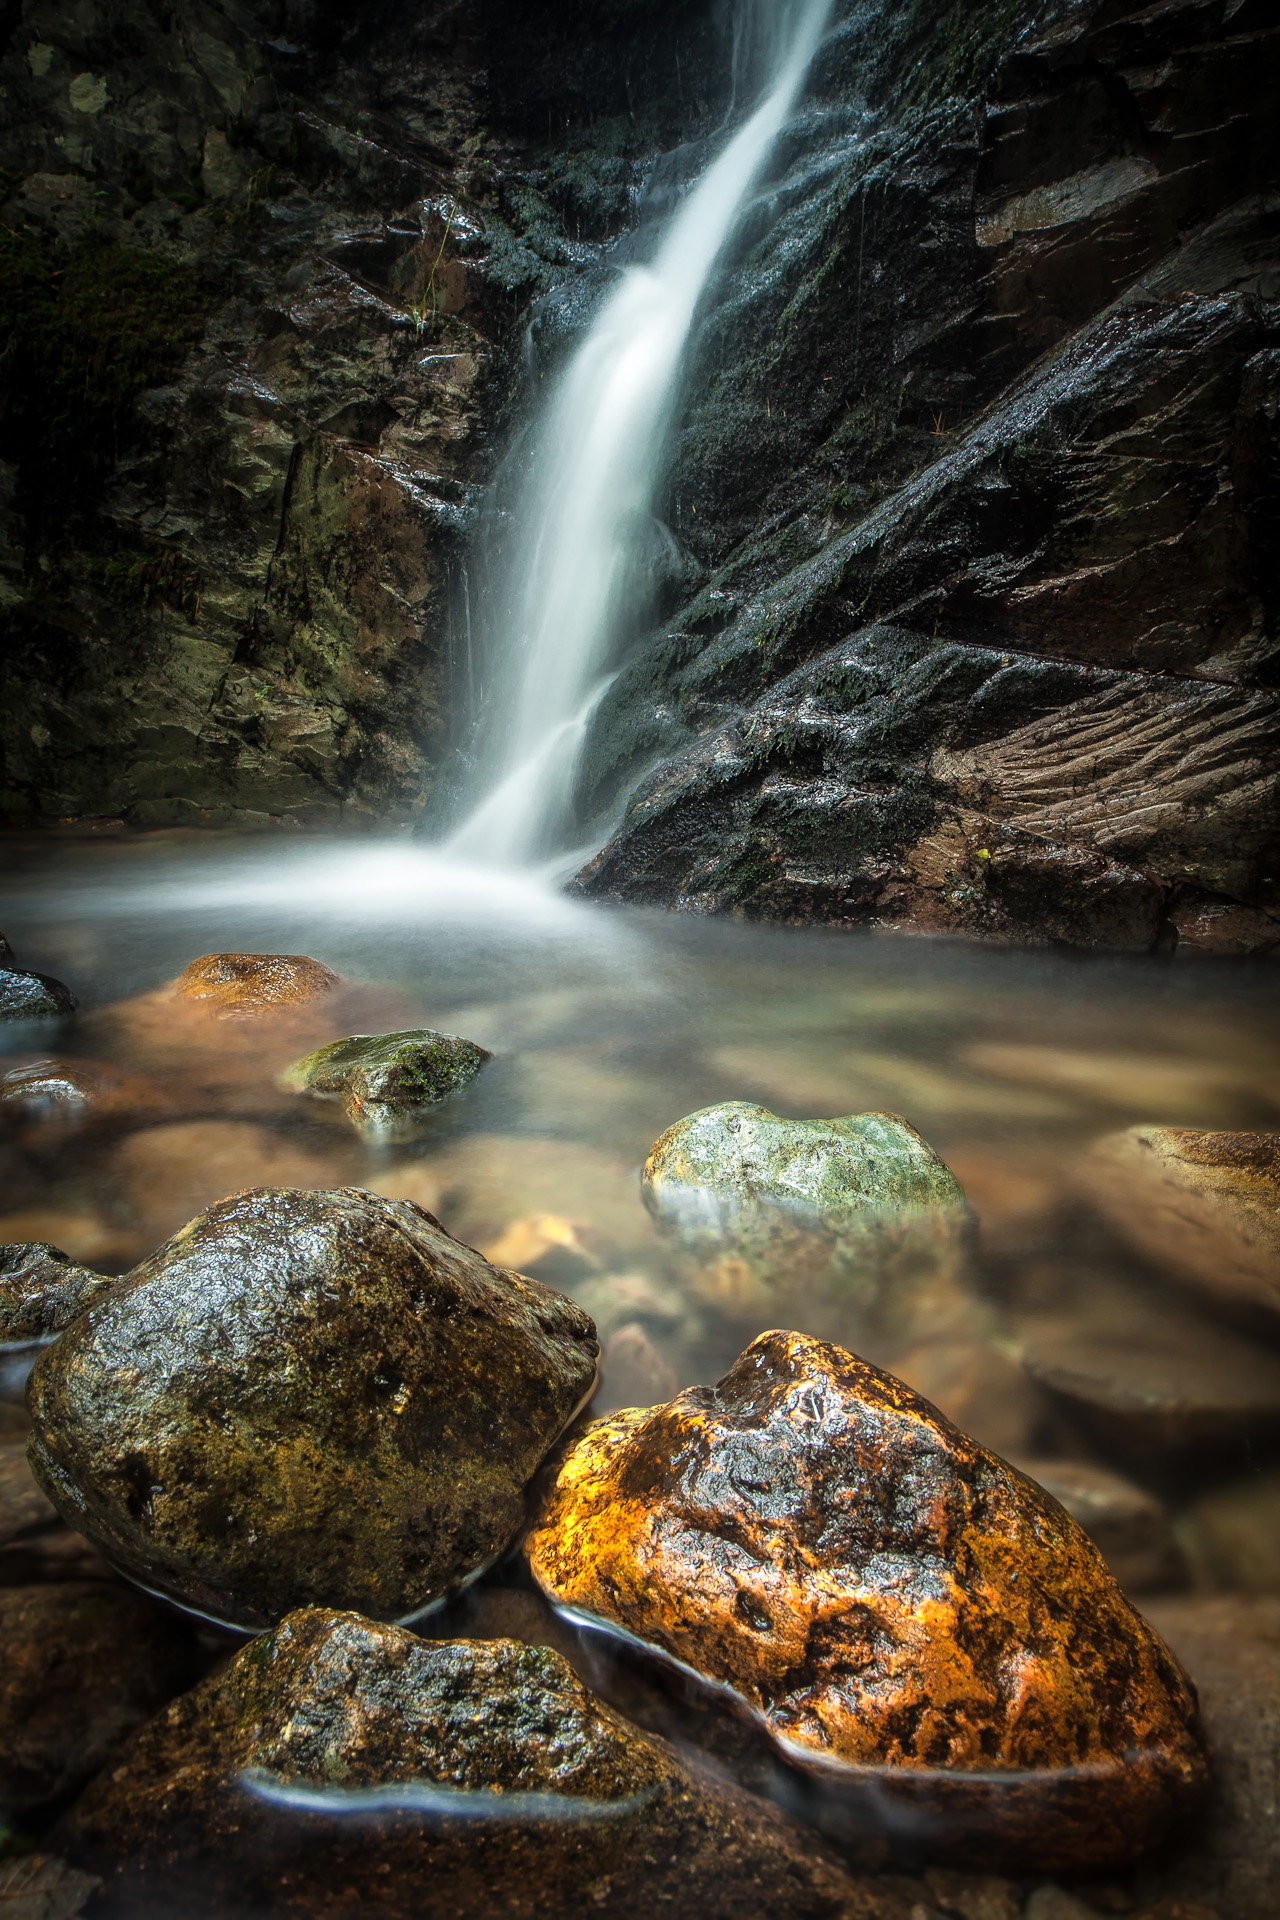
Waterfall, Rydal
The featured image I talk about below was shot a couple of weeks ago during a family holiday in the Lake District. My intention on this particular morning was to shoot Rydal Water which had a few days earlier been clad in mist, so I was hoping for similar conditions. One thing I do when I go away is pore over maps looking for potentially interesting features. As you can see from many of the images on this site, when I see the word "waterfall" I get particularly excited. You can't see the text on the 50k map below, but "Fall" is marked on my 25k map near to the White Moss car park between Rydal and Grasmere where I would be parking for Rydal Water. I decided I would check it out on the way back to the car.
[osmap width=400 height=400 markers="NY 34933 06637;Waterfall"]
The fall is pretty much opposite the car park and is at most 100 yards from the roadside up a track.
Lay of the Land
Upon reaching the fall, you'll see that it cascades into quite a wide ghyll (or gully, or ravine) with a bank a couple of meters high. The ghyll is also quite long and straight, so the waterfall is visible some distance down the ghyll. This is generally unusual for waterfalls. I usually find that you suddenly come upon them and then have little room to work in.
Also presumably because the ghyll was quite wide the water was not very deep, literally centimetres, so you can move around quite freely. This adds up to a good location to try out some different compositions unhindered. The ghyll floor is littered with rocks none of which leap out to me as useful foreground material, it strikes me as disappointingly messing.
(for future posts I'll make a note to take a wide shot of the location to help explain the scene a bit better)
It was still early in the morning (just before 7am) and the weather was rather grey which meant I had nice soft light.
I scrambled down the steep bank, and set to work.
Making the Image
I made 35 images in the ghyll which you can see in this contact sheet from Lightroom (click the thumbnail for a larger image). There are actually 36 images in the contact sheet as #35 is a post-processed TIF.

When I approach a scene I like to start from further away and work my way, in getting closer as I become more intimate with it.
The first few images (#1-4 in the contact sheet) were shot quite far down the ravine using my 135mm lens. Most of my watefall shots are right in close to the foreground, so I was interested in shooting with a longer lens for a different aesthetic.
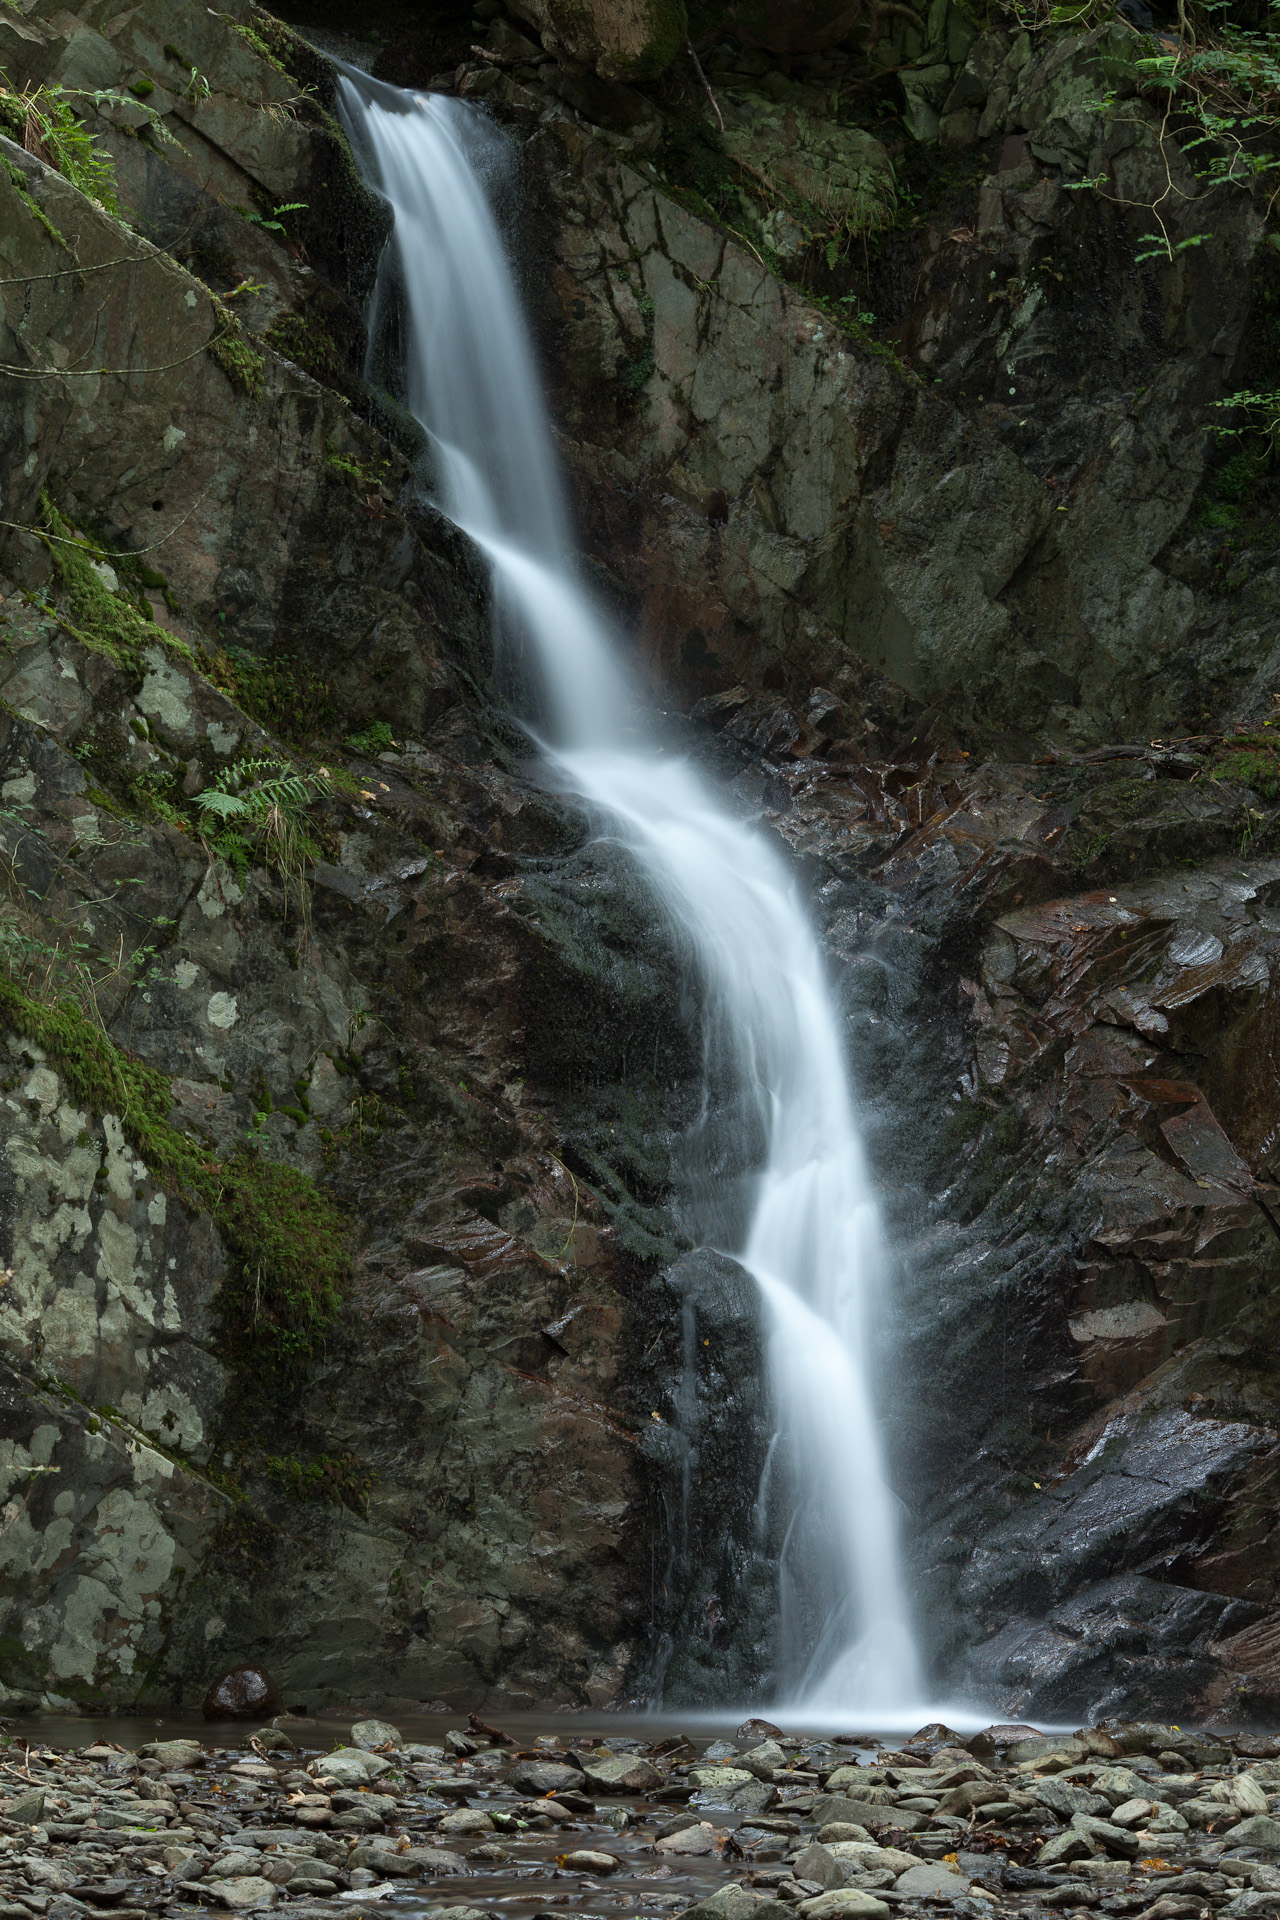 In this first image (#1) I'm just checking for exposure and setting up an initial composition, using a long exposure to create the "silky water effect". I talk about the details in my Guide to Long Exposure post. It's pretty dark down here so I'm able to get a long exposure without an ND filter at f16 and ISO100. Although I could get the silky effect with a second or two exposure, I prefer a bit longer as it creates a more pleasing look where the waterfall splashes into the pool.
The initial 10" exposure is just a touch too much so the water is too close to burning out for my liking. I back it off to 6". I can't recall if I was in manual or aperture priority. I normally shoot in Av, but recently when the light is unchanging - as it was down here - I find myself using M more often. With Manual I don't have my exposures changing from one frame to the next as the composition and hence metering changes.
The composition is too central, top-to-bottom for my liking with wasted space either side. In the next couple of frames, while adjusting my exposure, I'm moving the waterfall to the left of frame such that the "flow" of the image is from top left to bottom right which is more natural feeling.
I arrived at the final image in this series pretty quickly as at this focal length composition options were somewhat limited. You can see the strewn rocks at the foot of the fall which I was trying to minimise in the shot. Though not a favourite, I quite like this shot (#4). I like its straightforward simplicity.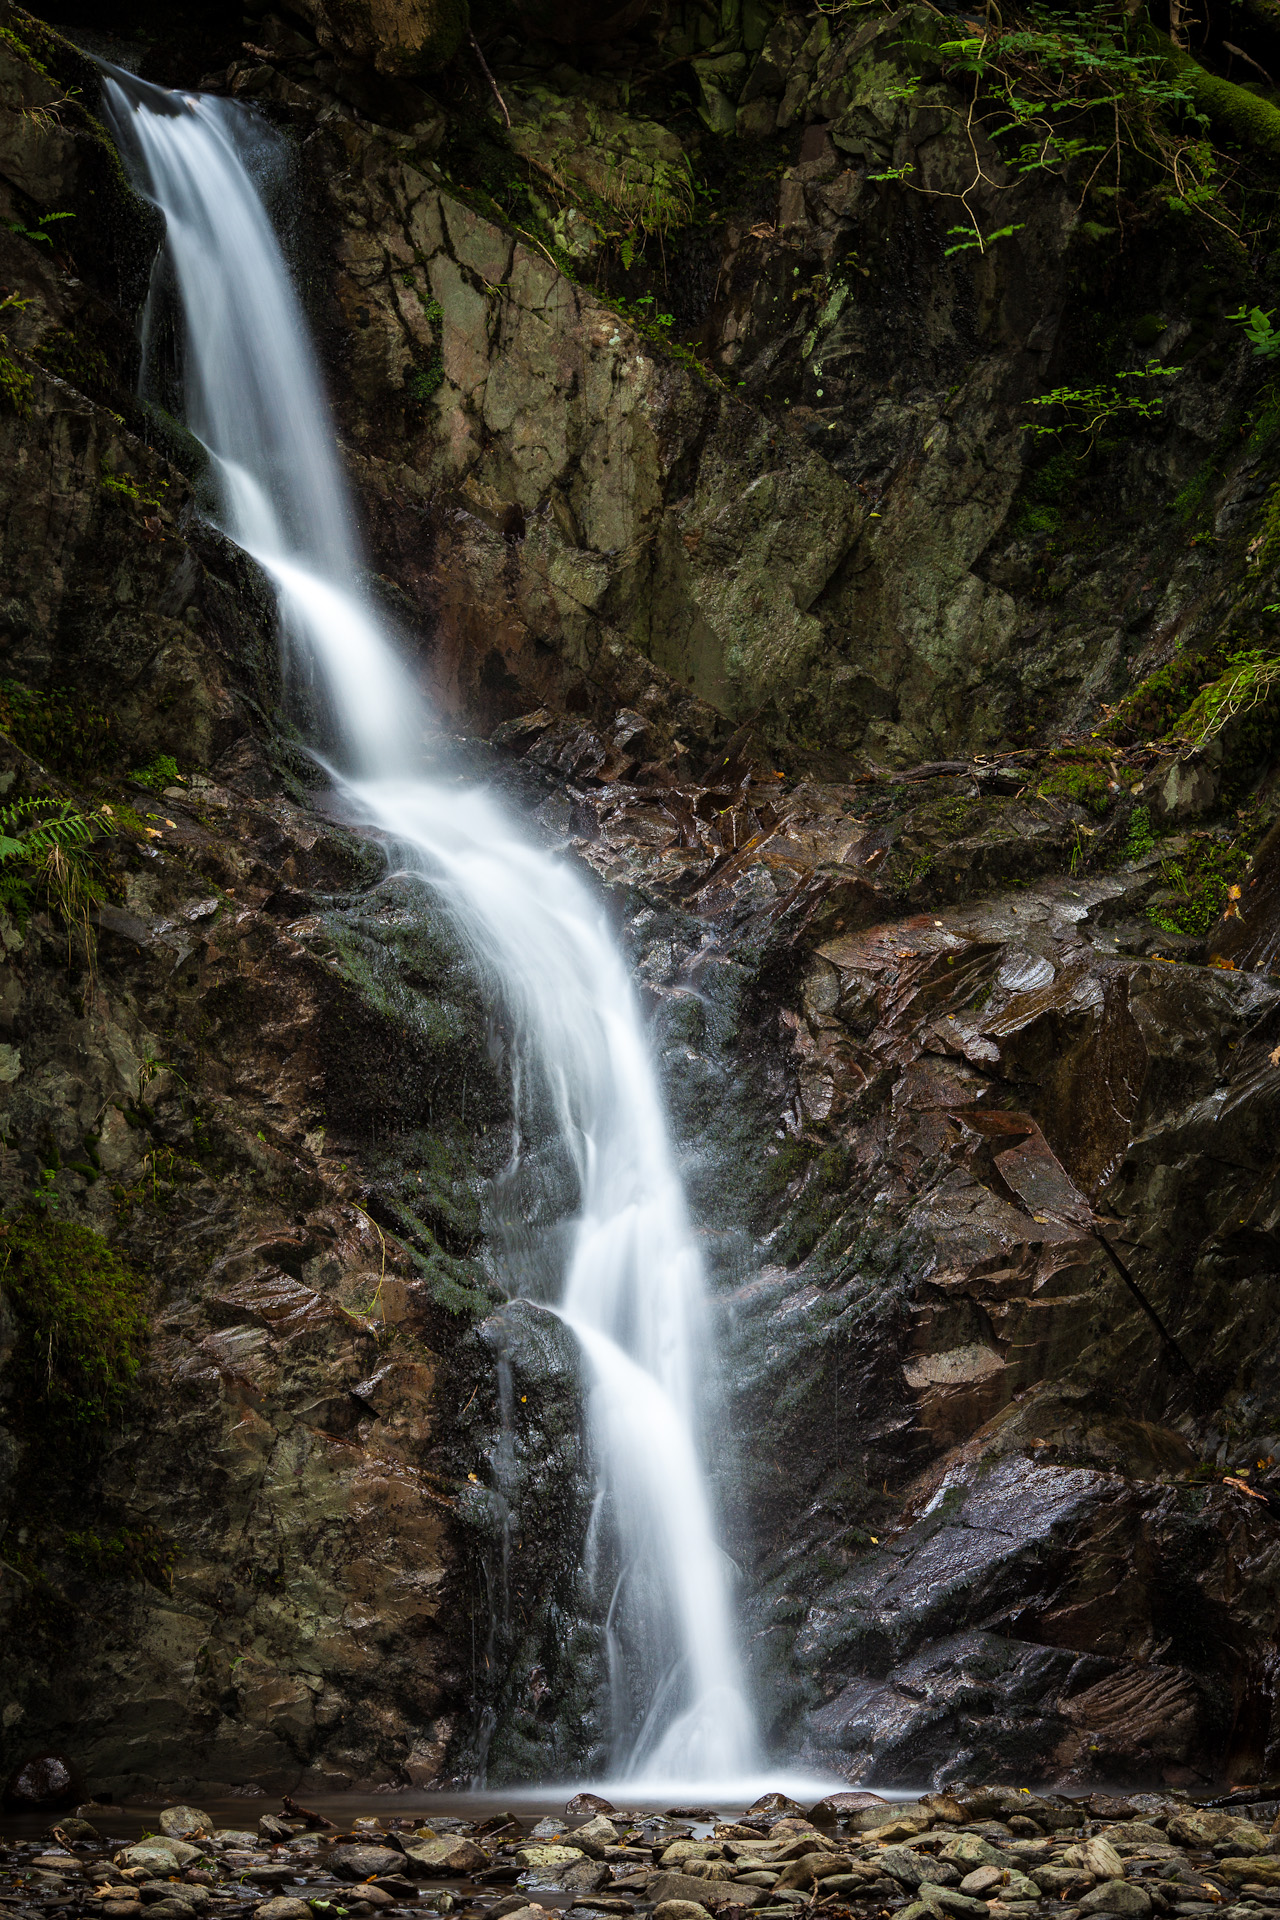
 I feel it's time to get closer to the fall now. I'm looking for something in the foreground to anchor the shot and give it some depth. I come across this rock (#5) larger than the rest and have a look to see if it gives me that. My exposure settings are similar and I've switched to my 35mm lens.
I don't really love this rock. It's a pretty boring rock and I realise pretty quickly I'm trying to make something that just isn't there, and the rocky mess leading to the fall isn't going to make the image I'm looking for. The various fallen tree trunks and branches add to the visual clutter.
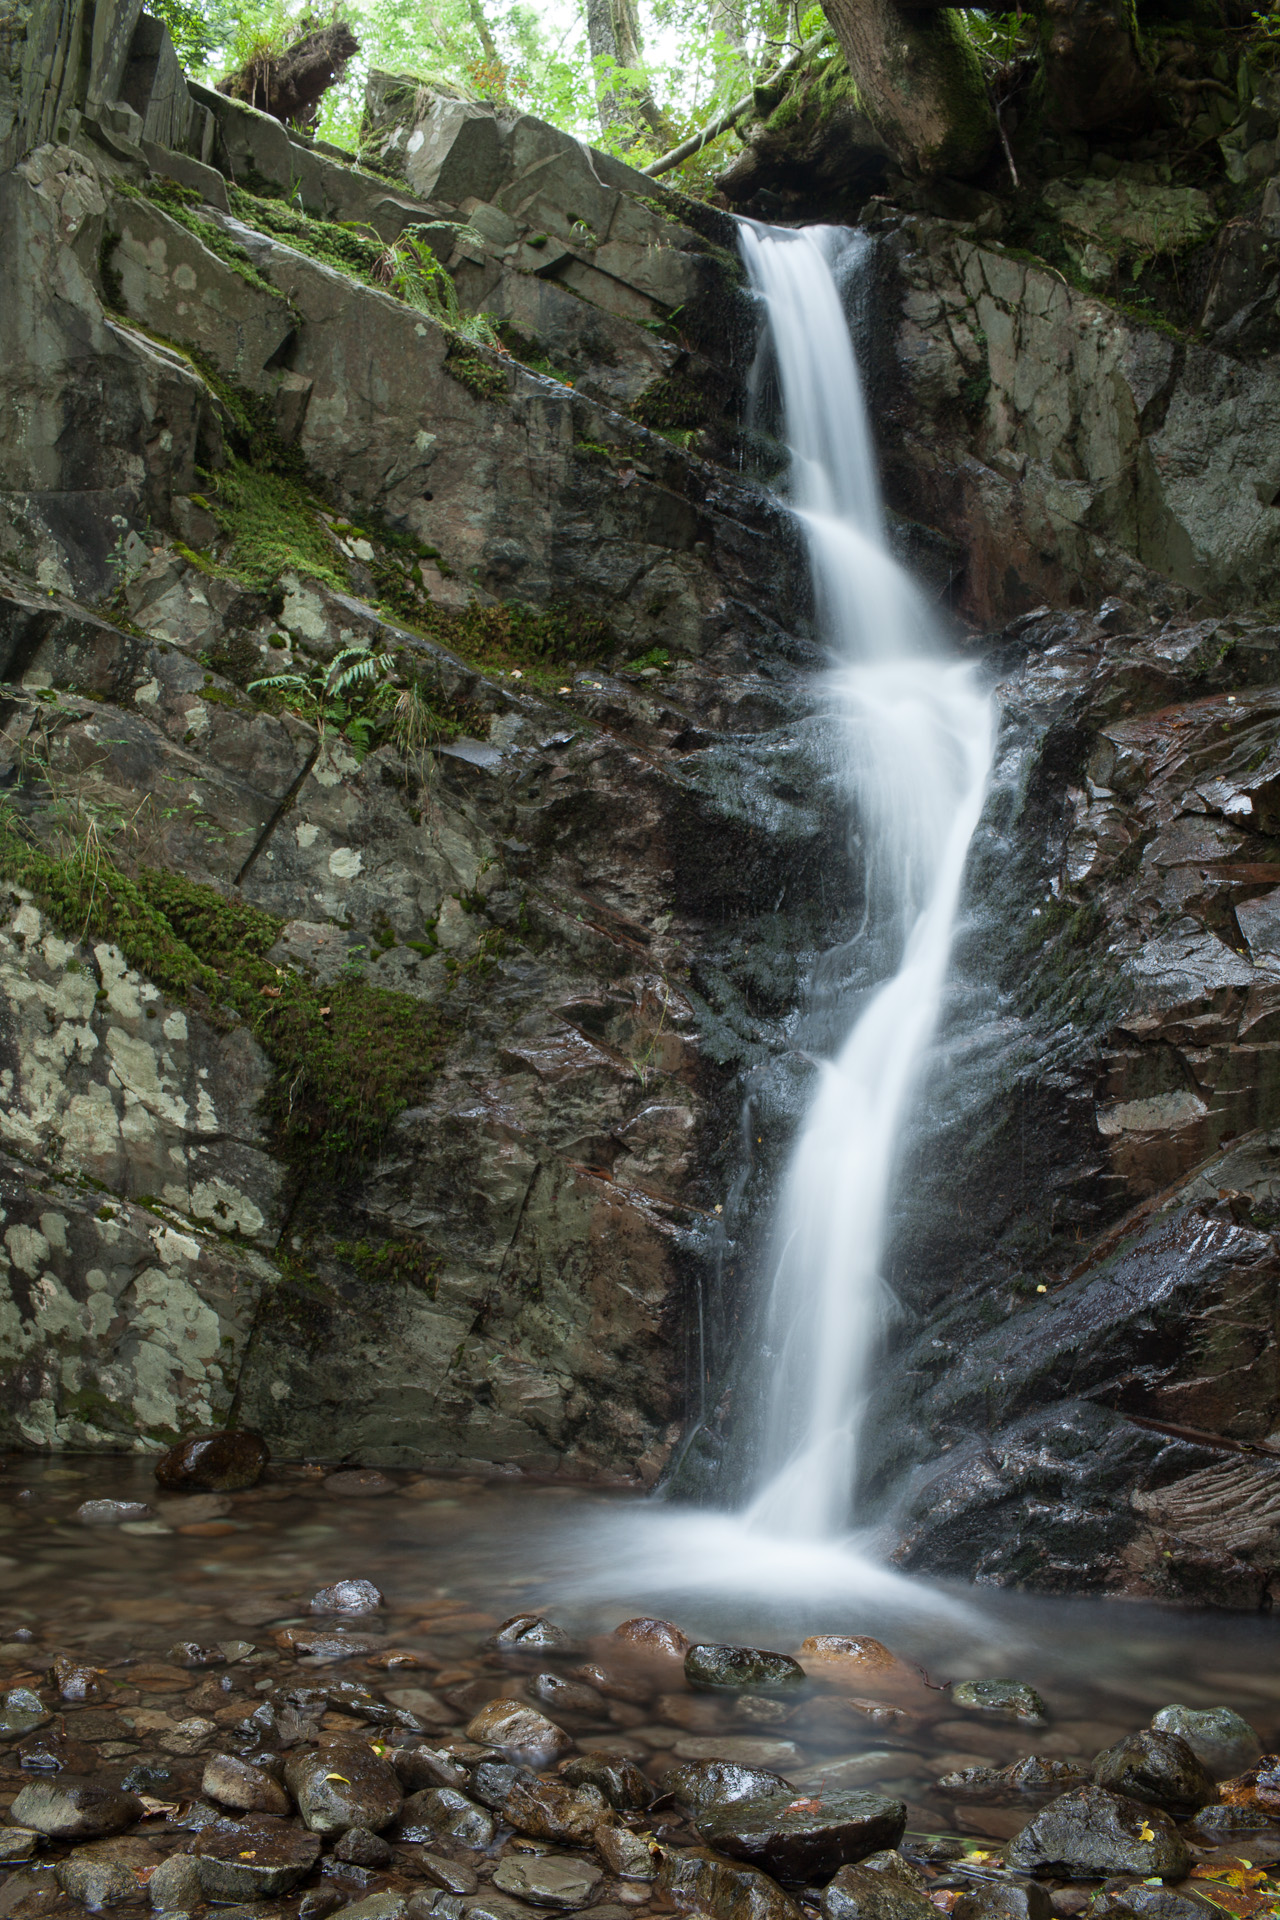 So I decide I need to move quite close in. I remove a couple of fallen branches from the pool at the foot of the fall which are adding to the visual mess.
The next series of shots (#8-13) are pretty enough. I like the rock angling from top left to bottom right leading to the fall, which then comes back slightly against that line (#8). I'm not liking the high contrast of the trees and sky above the fall, it's a bright patch leading the eye out of frame. I'm thinking I could crop to say 5x4 which I like but I'm aware that as well as losing the sky I'll lose everything (or rather, what little I have!) in front of the fall leaving me with a pretty dull picture of just a waterfall.
I try dropping the lens to get rid of the sky (#10). This brings in more of the visual clutter on the floor. I'm then also becoming more conscious that I don't have to get excited about in my foreground.
If I get lower, and try to retain the full waterfall I'm almost certain to get some bright sky and trees coming back into the top of the frame. Further, I'm still a wee bit away from the fall so even if I've got a foreground I still have distracting rocks in the midground. At this point I've decided I want to get really close, switching to my favoured Zeiss 21mm.
I know I want to approach the fall from the side to give a more dynamic composition. There's little of interest on the left where most of the water is flowing. There's some semi-interesting stuff to the right so I set-up low (2nd lowest setting on my tripod, about 60cm off the ground) and decide to cut-off the top of the fall (I don't want the sky coming in, and it keeps the frame more intimate. #14-17).
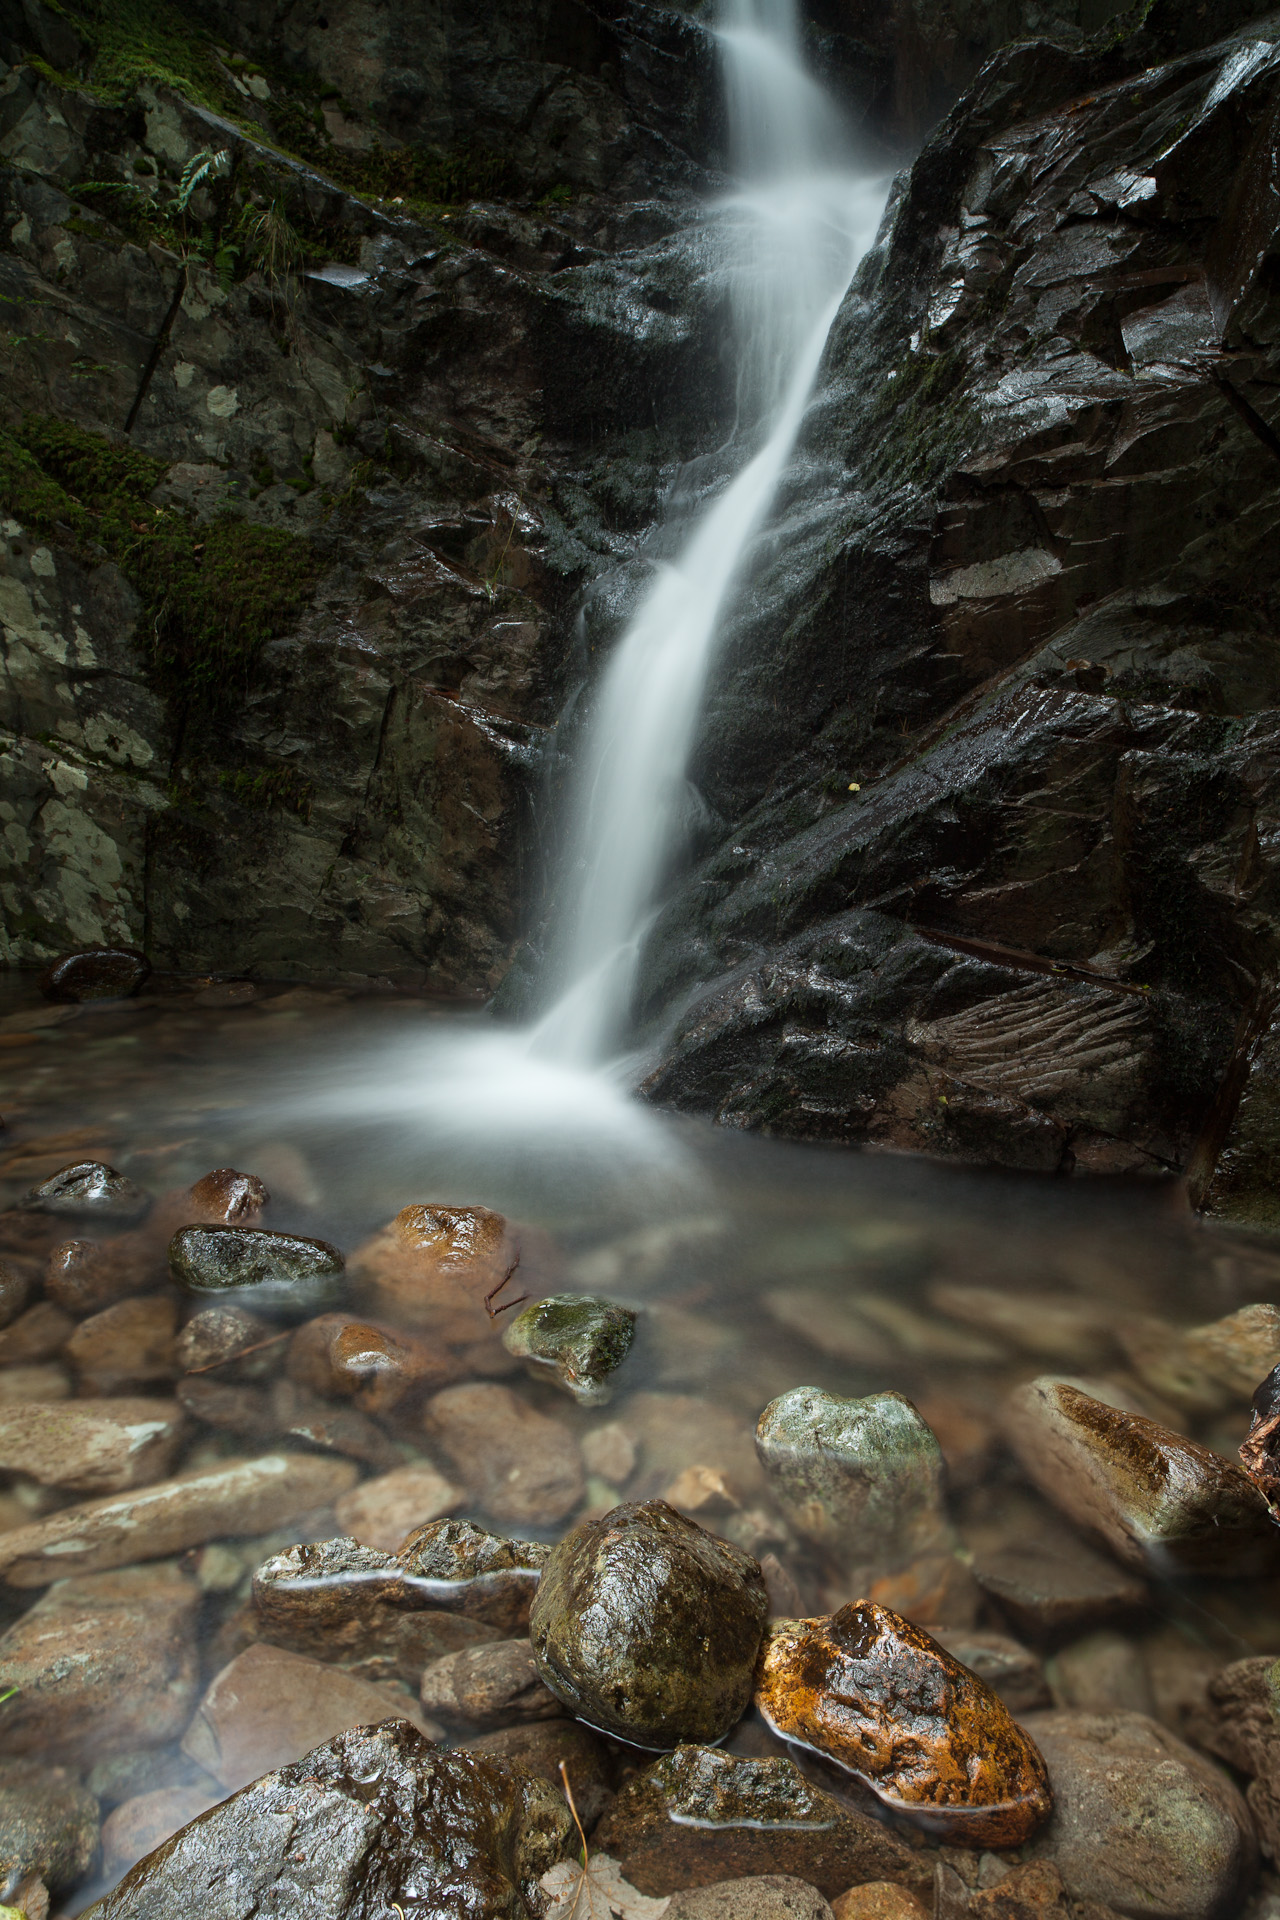 Ok at this point I'm starting to see the orange in the foreground rock (#14). It had completely escaped my attention before but now it's winking at me like a piece of gold in the pan! I mess around with some ND grads to darken the fall relative to the rocks so I can brighten my foreground but I'm just not happy with my composition. I like the orange rock, it's just not big enough - it looks like it's fallen into frame rather than me putting it there. Time to get closer and lower (#18-28).
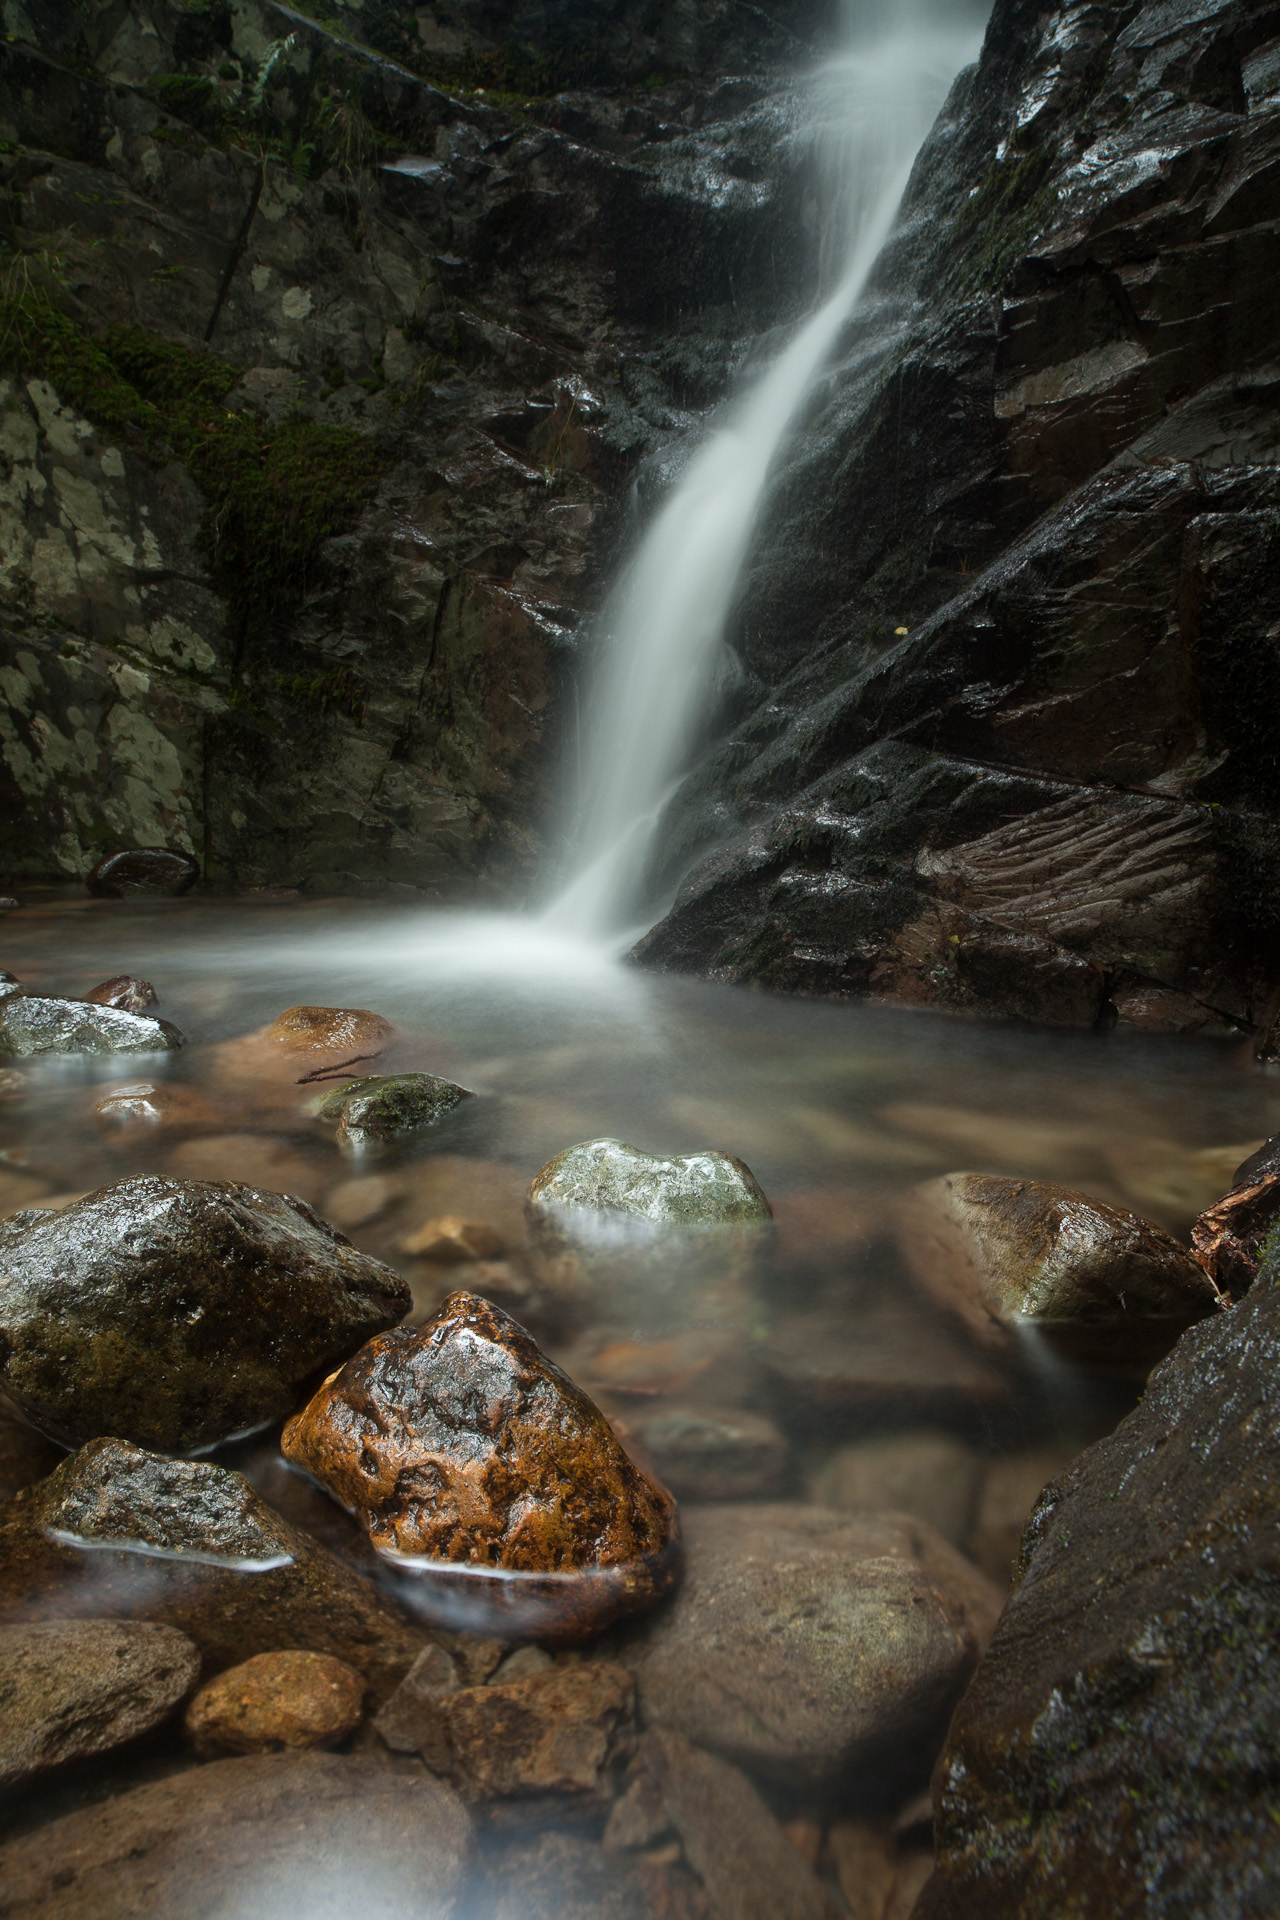 Things are starting to get tricky at this point. As you'll see in this image (#28) from later in the series, I've got a rock slab that forms the right flank of the waterfall just to the side of my foreground orange rock. I have no way to splay my tripod legs without one of them going down the side of the orange rock and into frame. Hmm.
I decide to fold turn my tripod horizontal, fold down one leg, keep the other two splayed to stop the 'pod rolling forwards and backwards, and rest the ballhead on a rock sitting right next to the rock slab. I rotate the ballhead back into the vertical position and I'm all set. A little bit unconventional but it seems to work .
At this point the camera is nearly in the water which means I'm kneeling down in the water myself trying to perfect the composition. I shoot off a number of identical frames, wiping my filters in between shots to remove spray from the waterfall.
These exposures are all 8" @ f16, ISO100. I would probably prefer to be at f11 for sharpness, but I'm very close to that rock and not very able to review my images on the LCD so I opt for the wider depth of field over absolute sharpness for safety.There's some weird white glare in #18-19 that I notice and adjust me composition to remove it.
Mid-way through I kick my tripod legs (doh!) knackering my composition but fortunately not my kit. Setting it back up I end up with my final composition (images #29-36). Fortunately I also spot the pronged twig sitting between the two rocks in the middle of the pool and remove it. However I haven't seen the leaf lurking in the water front of frame.
 Again I shoot several frames to avoid the "spray of doom". I don't think I can improve on the composition (#35), I'm confident I've got enough frames to have avoided water drops and my belly is rumbling - it's 07:46 and time to go home!
At Home
Reviewing the images at home, I quickly move through the series remembering the various adjustments I was making. There's some shots I quite like, there are others where I can't quite fathom what I've done or why, but when I get to my final image (#35) I'm very happy. And then I see the leaf in the water...
The other thing that bothers me is that I still have some white glare on the water in the bottom corner. I'm fortunate that I have enough room to left and bottom of frame to be able to crop both of these out, though this pushes the left hand rock slightly too close to the frame for my liking. There's also the big white splash of water at the top that is distracting so I choose to remove that too. I still have to do a little cloning to remove the leaf's stalk.
My aim here is to talk more about the fieldwork than the post-processing. But for completeness I've made fairly usual adustments in Lightroom (exposure tweaking, contrast, WB, bit of clarity and vibrance) and added a slight vignette.
I've then taken it into Nik Color Efex Pro 4 which I'm a big fan of. I can't remember the exact recipe but it probably involved Polarizer, Pro Contrast, Brighten Center/Darken Border (making my prior vignette addition a bit silly!) and maybe some Detail Extractor on the rocks. I like the added punch, reduced glare on the rocks and extra saturation in my final image (#35) which I'm very happy with.

There you have it, from car park to processed.
I hope that you found this post interesting, better yet helpful. I tried to make the writing as "train of thought" as possible to try to recreate being there, but appreciate that this may be annoying or rambling. This post took quite a bit of thinking and effort, so more than any of my other posts I'd be very grateful for your feedback in the comments to know if they are worthwhile repeating in the future or how you think it could be improved upon. Thanks!

