New Year in Knoydart: Some Thoughts and Images

Happy New Year! I hope you find 2014 to be an enjoyable and creative year for you.

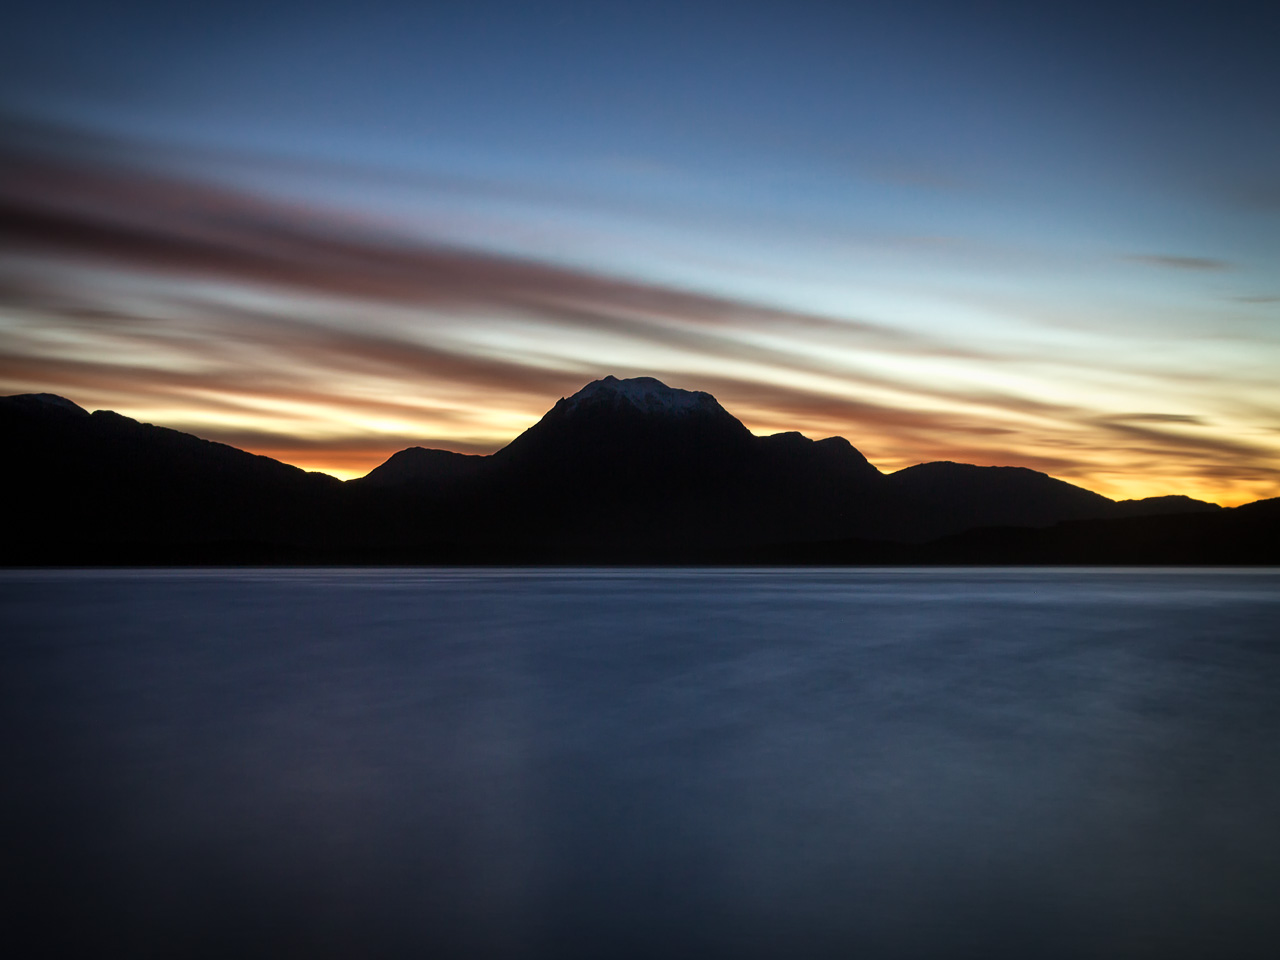
For my first post of the year I thought I’d share some thoughts and images from the Knoydart Peninsula where I spent New Year. Though on the mainland Knoydart is only accessible by boat from Mallaig. The sea lochs and mountains, including 3 munros, that surround it mean the only other way to reach the small village of Inverie is by foot, and quite a few miles of walking it is too! Hence Knoydart is described as Britain’s Last Wilderness and the excellent village pub, the Old Forge, calls itself the Remotest Pub on Mainland Britain.

I certainly felt remote being there. Or a better way of putting it was that my day to day worries felt remote whilst there. It was a lovely time spent with my little family and friends in a warm and welcoming community surrounded by incredibly beautiful scenery.

As our 3 nights away were predominantly family time my time out with the camera was limited. I managed to sneak out for 60-90 minutes at sunrise on a couple of mornings whilst our youngest daughter napped, and then had about 2 ½ hours on Hogmanay afternoon while everyone grabbed a wee nap ahead of the ceilidh and festivities later.

On the Beach

DAF-20131231-5933

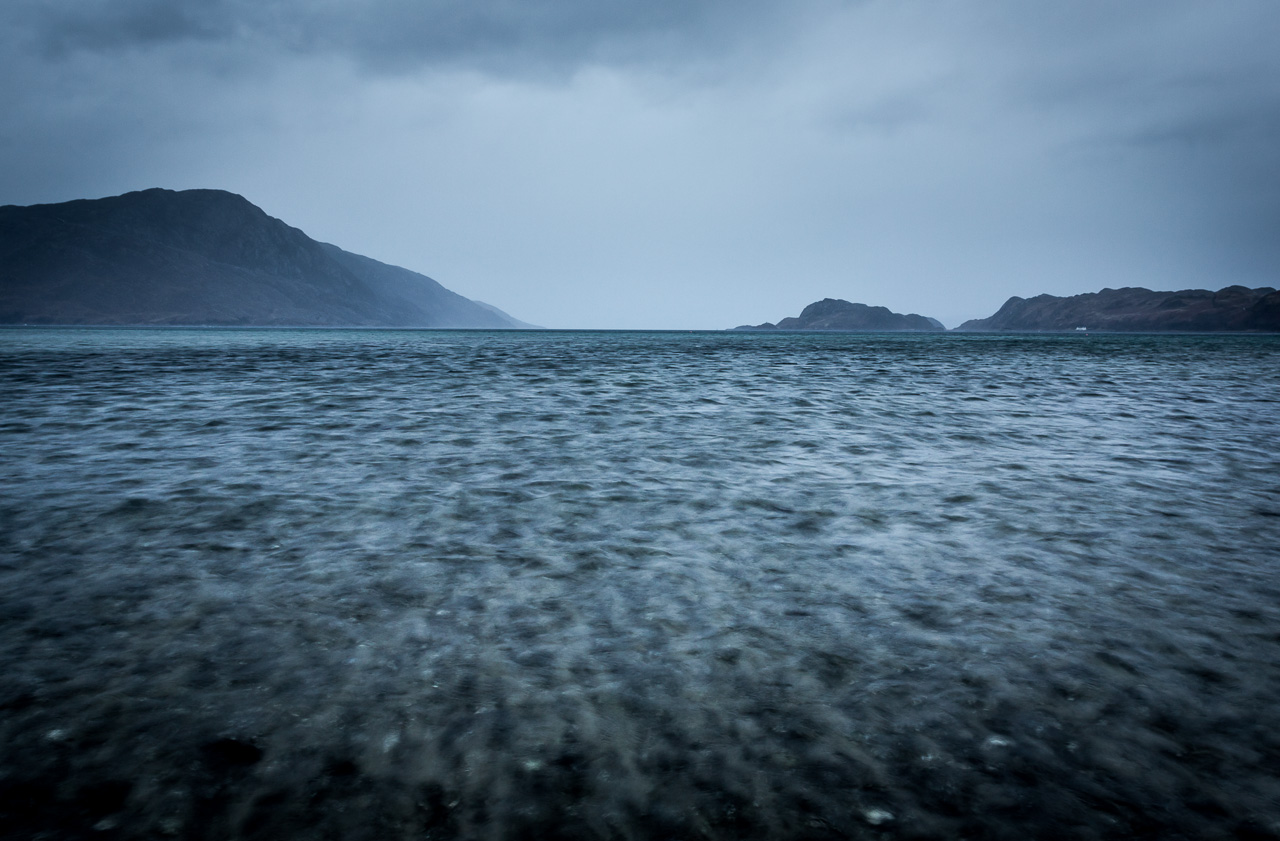
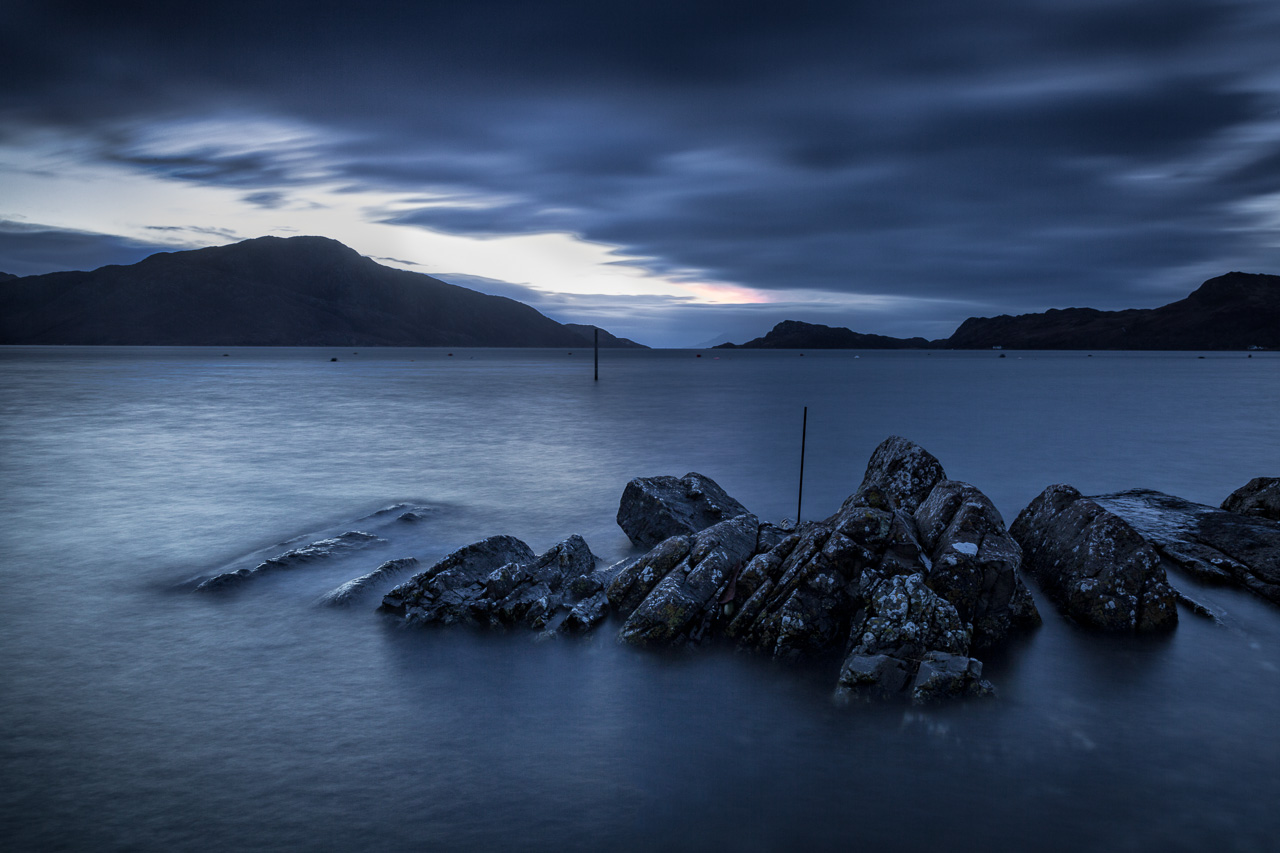
Both mornings were spent on Inverie beach. I had hoped to continue a series of images I started making in Northumberland a week earlier where rough seas crashed against the rocks.

However the narrow opening to Loch Nevis (map) means that the sea loch is fairly sheltered, and so the waves gently lap at the shallow beach rather than pound it. More research ahead of time would’ve changed my expectations if not the reality.

As a quick aside (and perhaps obvious to many) where you see a large beach marked on an Ordnance Survey map it is usually depicting a flattish and calmer stretch of beach. Even better on 1:25k Explorer maps you will see two blue lines on each side of the beach – one showing the mean low water mark and the other the high water mark – which helps give you an idea of how far the tide has to rise (and so also how quickly the tide will be moving. As an extreme example if you look at Morecambe Bay, notorious for its fast moving tides, you’ll see a huge expanse of sand, indicating a flat sand plain across which the tide moves very quickly).

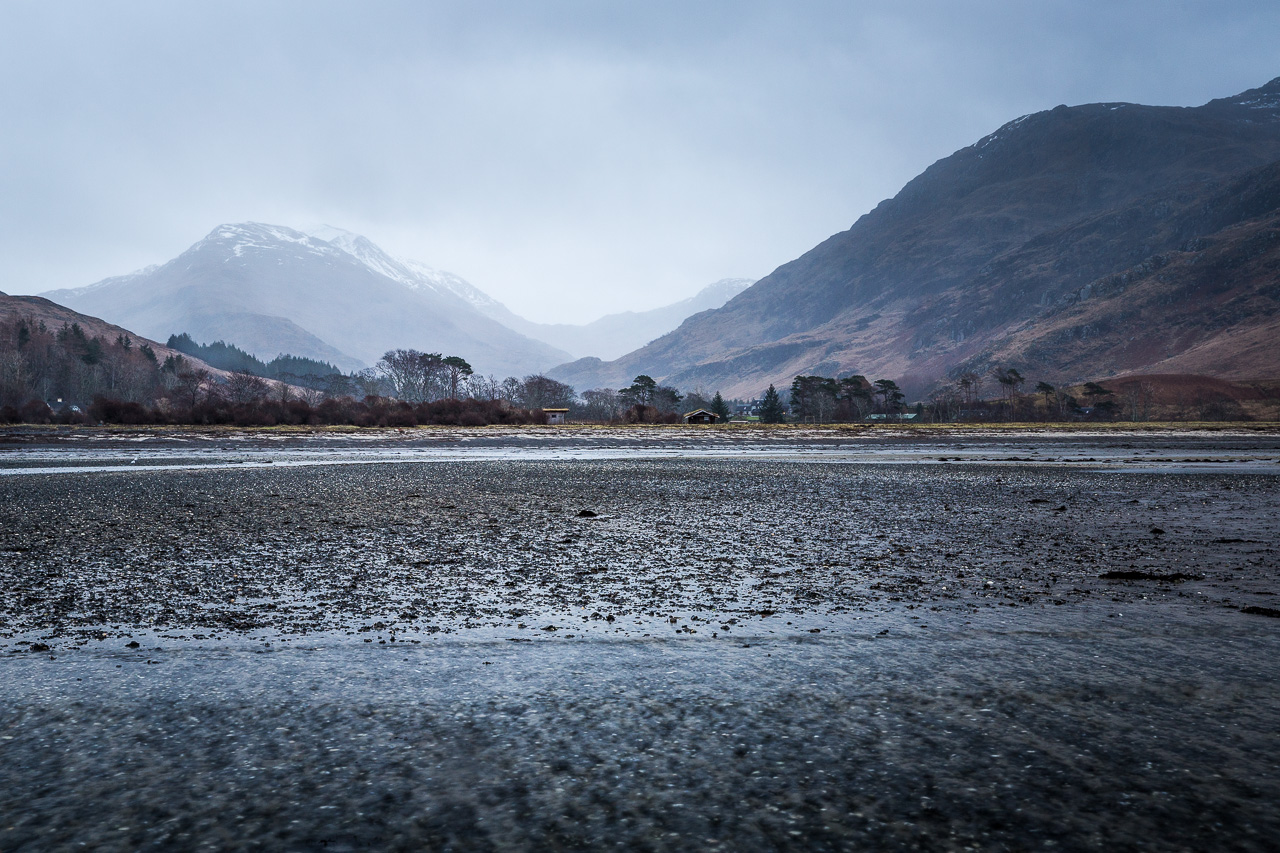
The shallow waves coming in were almost being pushed backwards by the wind. In combination with the details under the shallow water I thought it gave an interesting texture to the water.

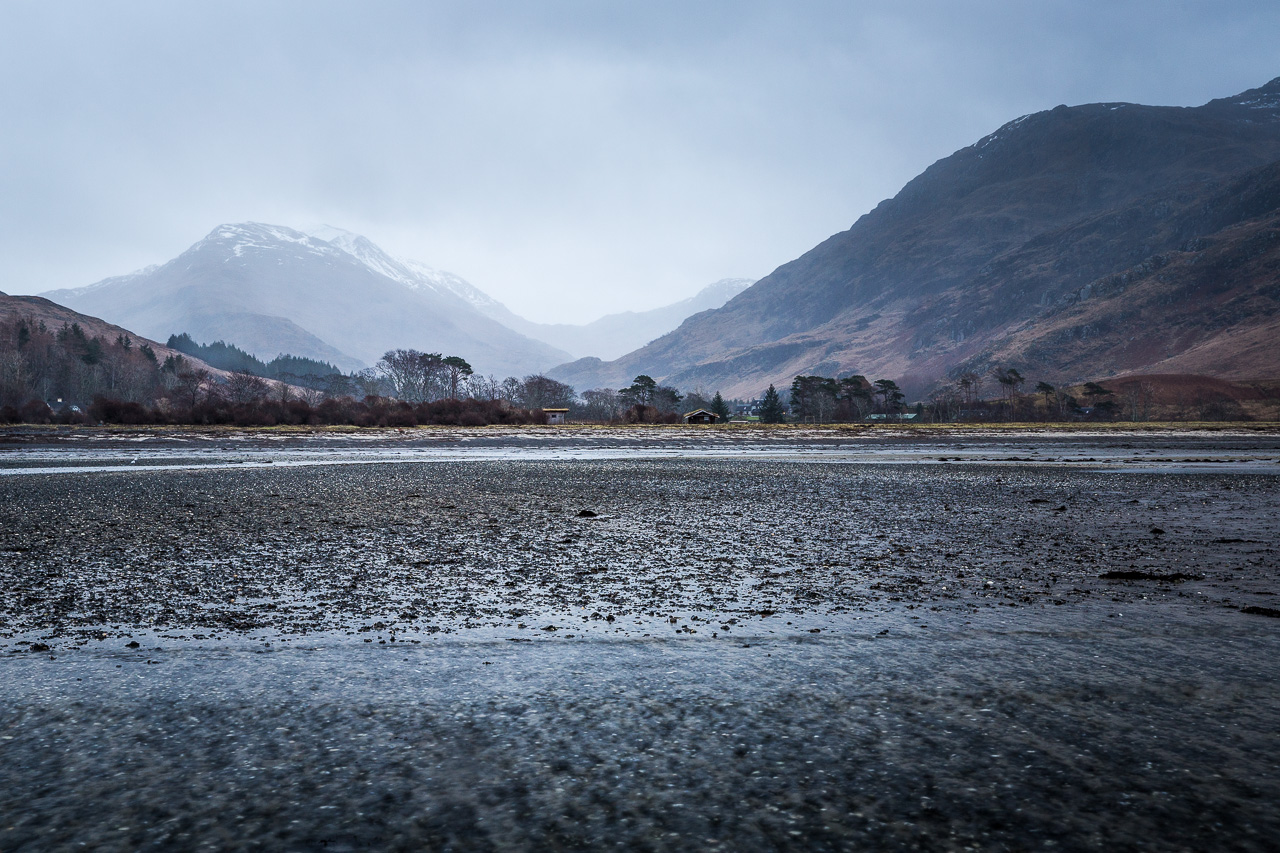
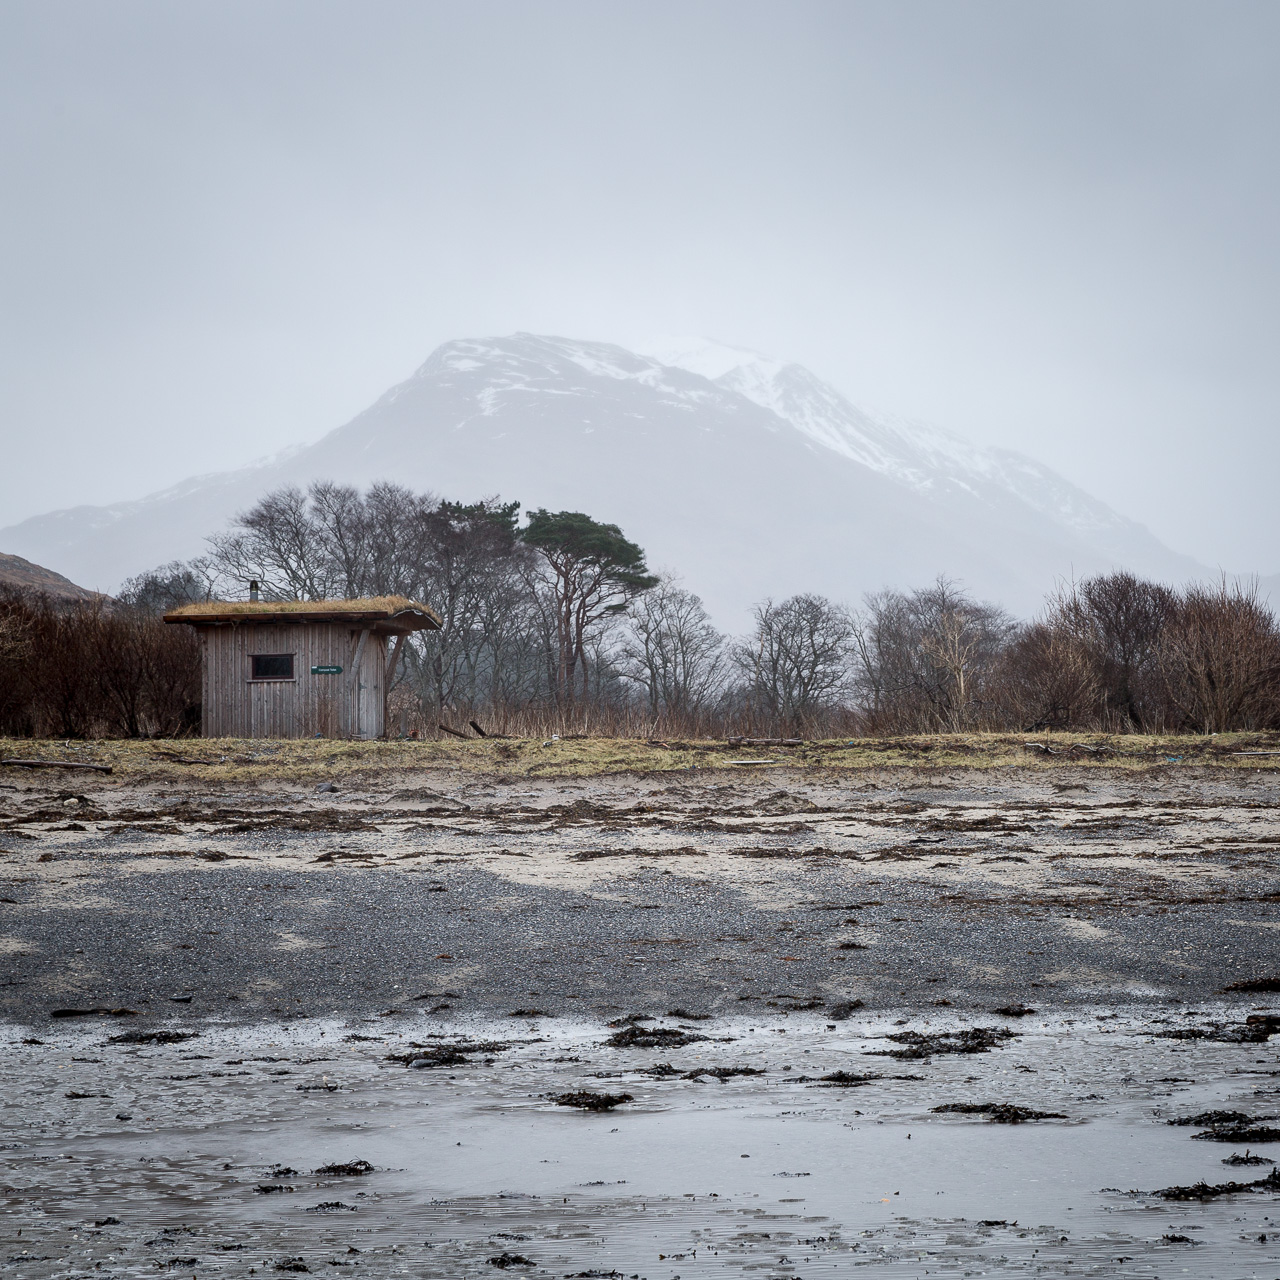
To describe the landscape further, although surrounded on three sides by large mountains their proximity makes it difficult to make photographs of them. It’s hard to make a compelling image of a mountain whilst stood at its base. It seems to me that to make strong images of Knoydart’s mountains you need to either climb them or walk down the glens between them which takes several hours or more, time I didn’t have. So as strange as it seemed with them towering over me mountains weren’t my main subject.

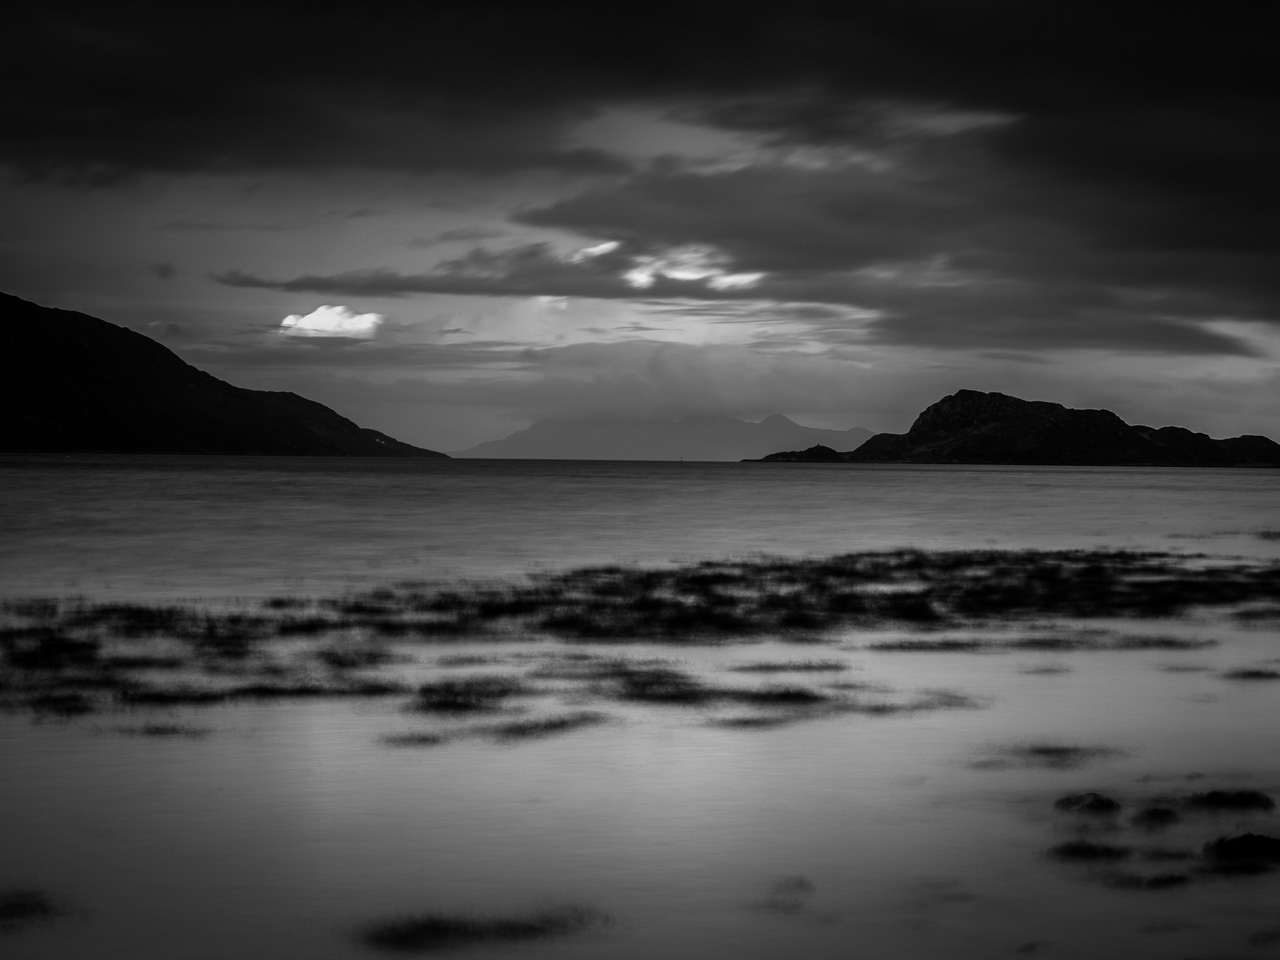
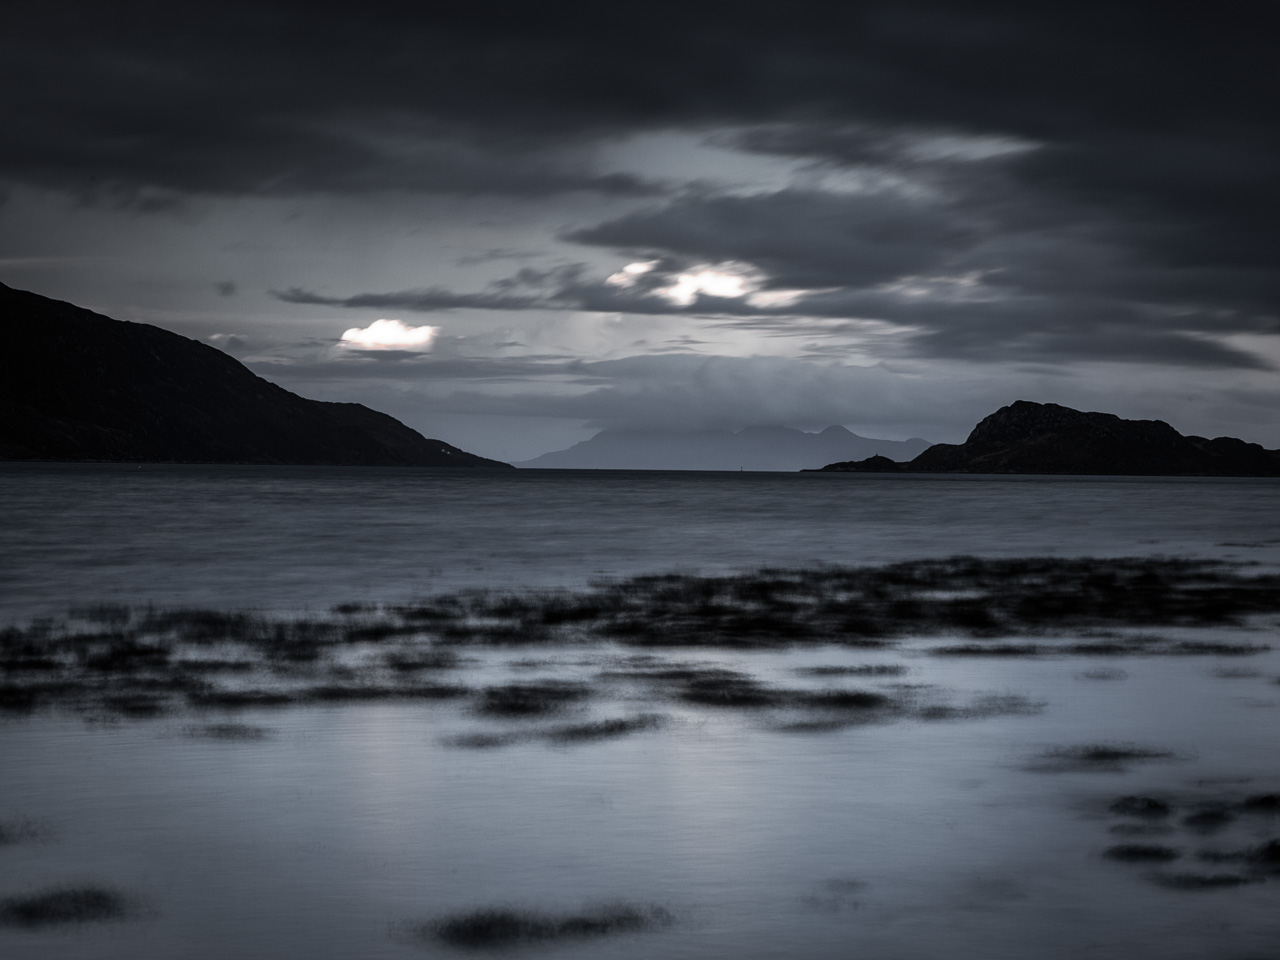
There was a bank of Seaweed floating in the sea not far into the water and it took on this strange furry texture with a long exposure of 20s which I rather liked.

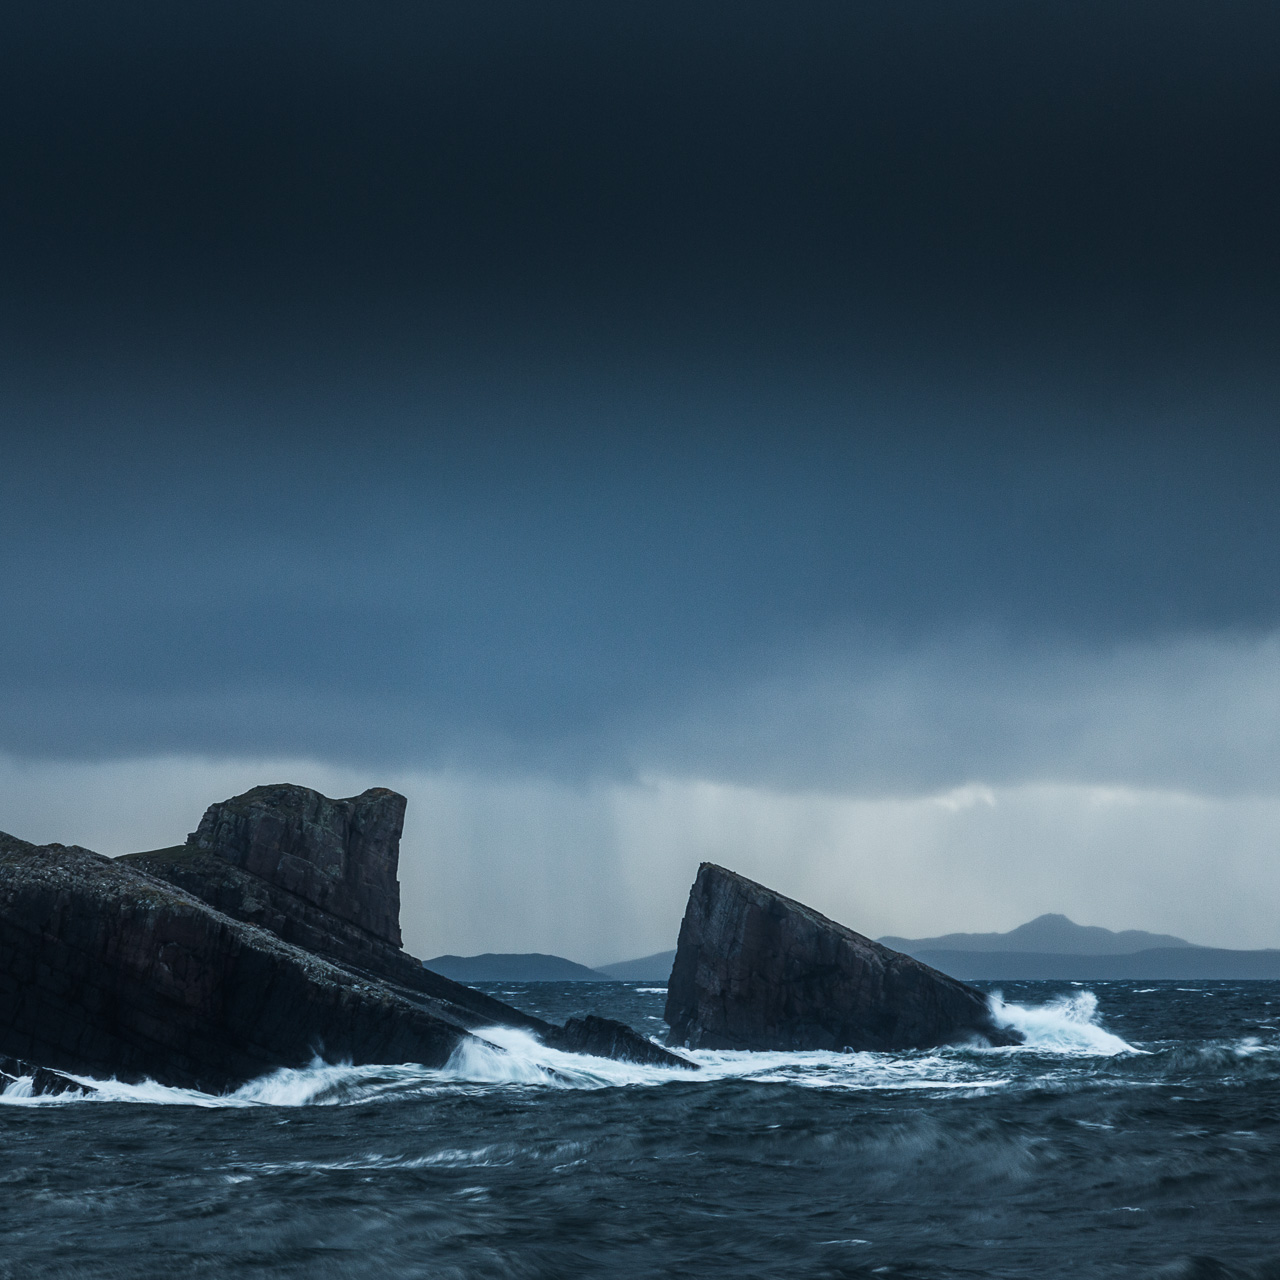
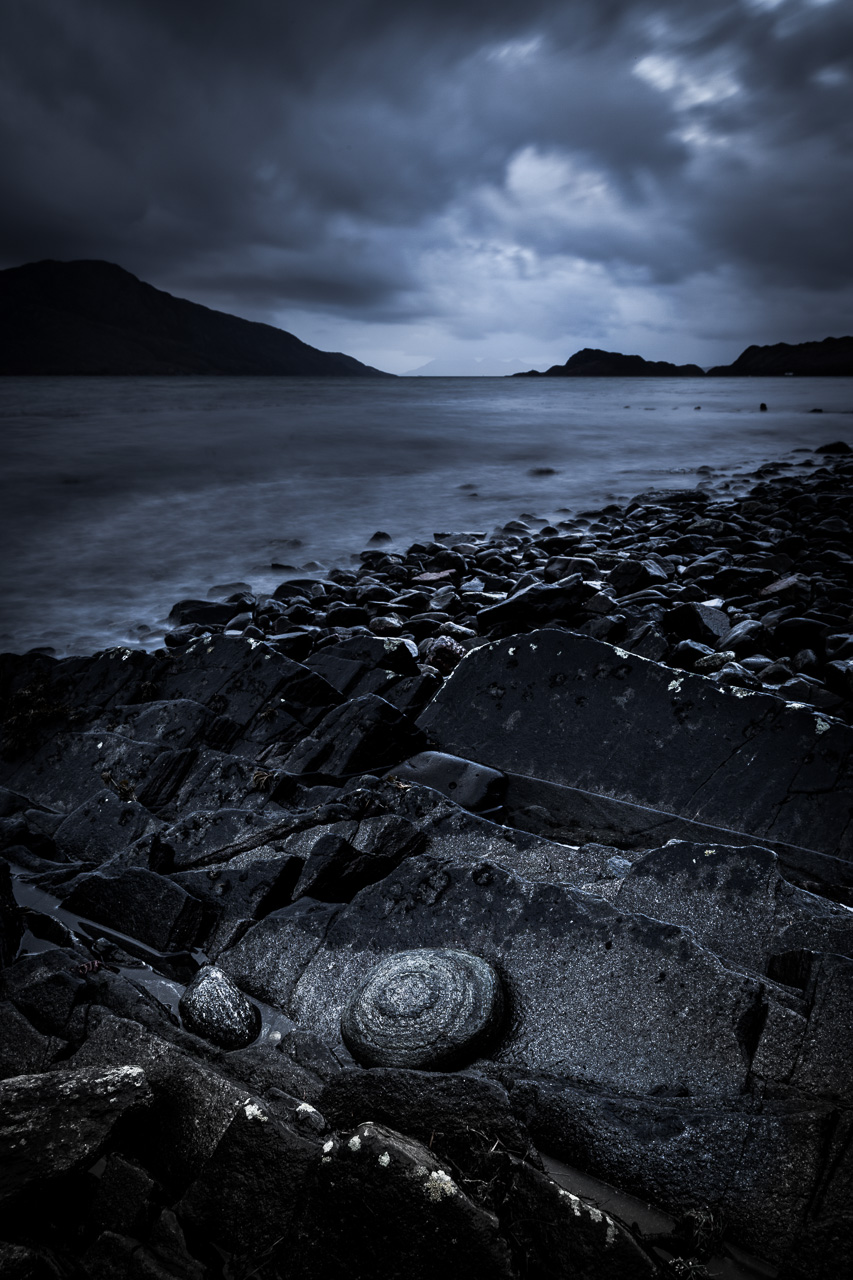
I worked along the stones on the beach, shooting towards the westerly neck of Loch Nevis, with Rum’s Cuillins visible through the gap. Even then I found it quite tough to find interesting rocks to work with and when I did it was only a matter of minutes before the tide had moved out beyond them. I got a couple of images that I’m happy enough with, but felt a bit too hurried for me to be completely satisfied.

One of my favourite images from the trip. I love the overall dark mood with that hint of brightness drawing the eye towards the Rum Cuillins in the distance.

In the Hills

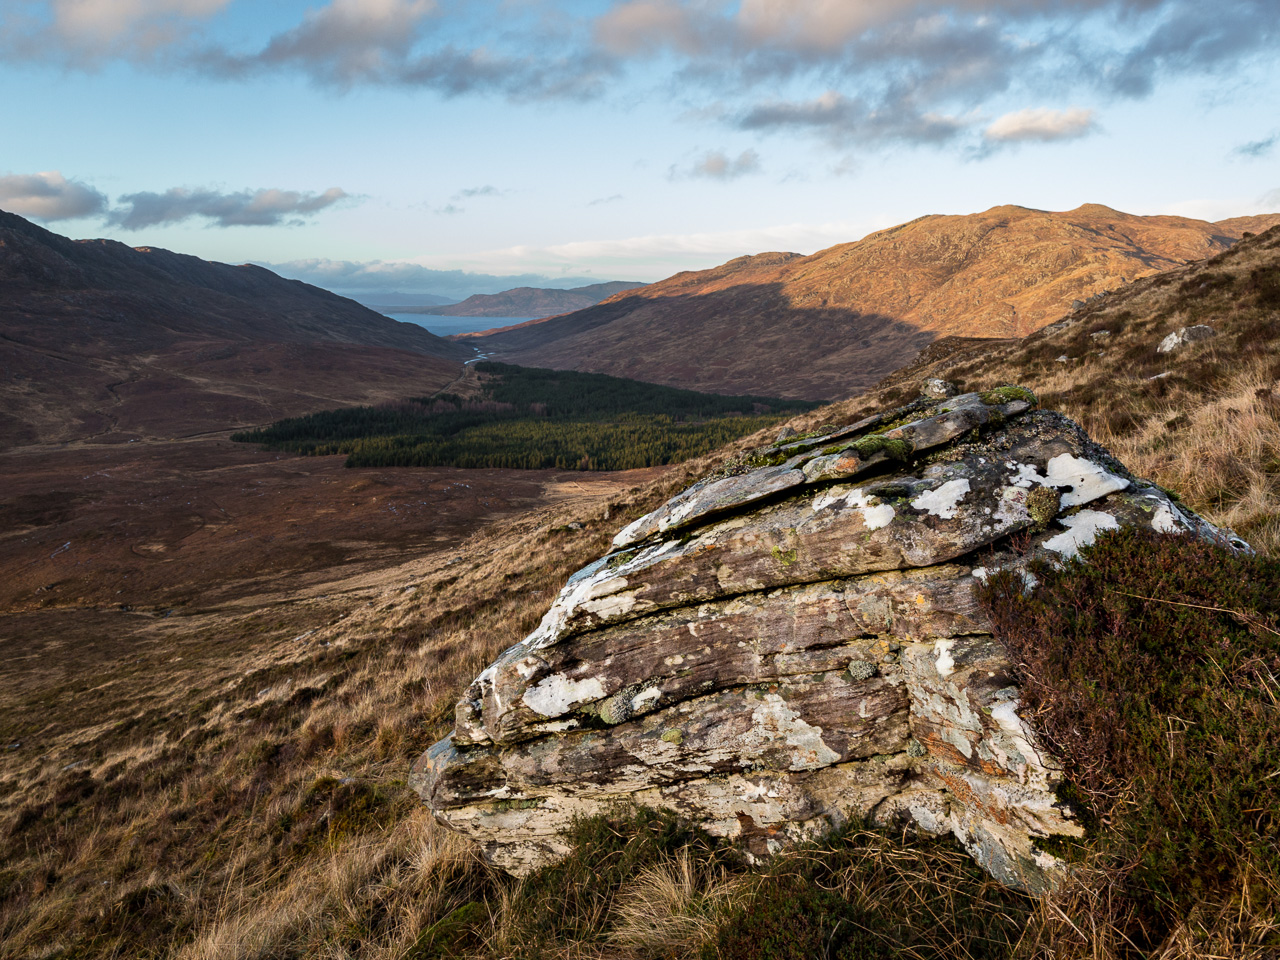
On the occasion where I did get out for some more time I decided to climb a hill. My friend Jim (@knoydartjim; a pretty appropriate Twitter handle!) had recommended climbing part way up Sgurr Coire Choninnichen behind Inverie. The mountain has a flat plateau below the main peak that the locals refer to as ‘The Flats’, with views across Loch Nevis to Eigg and Rum to the southwest and also along the glen (Gleann na Guiserein) towards the Black Cuillins of Skye to the northwest.

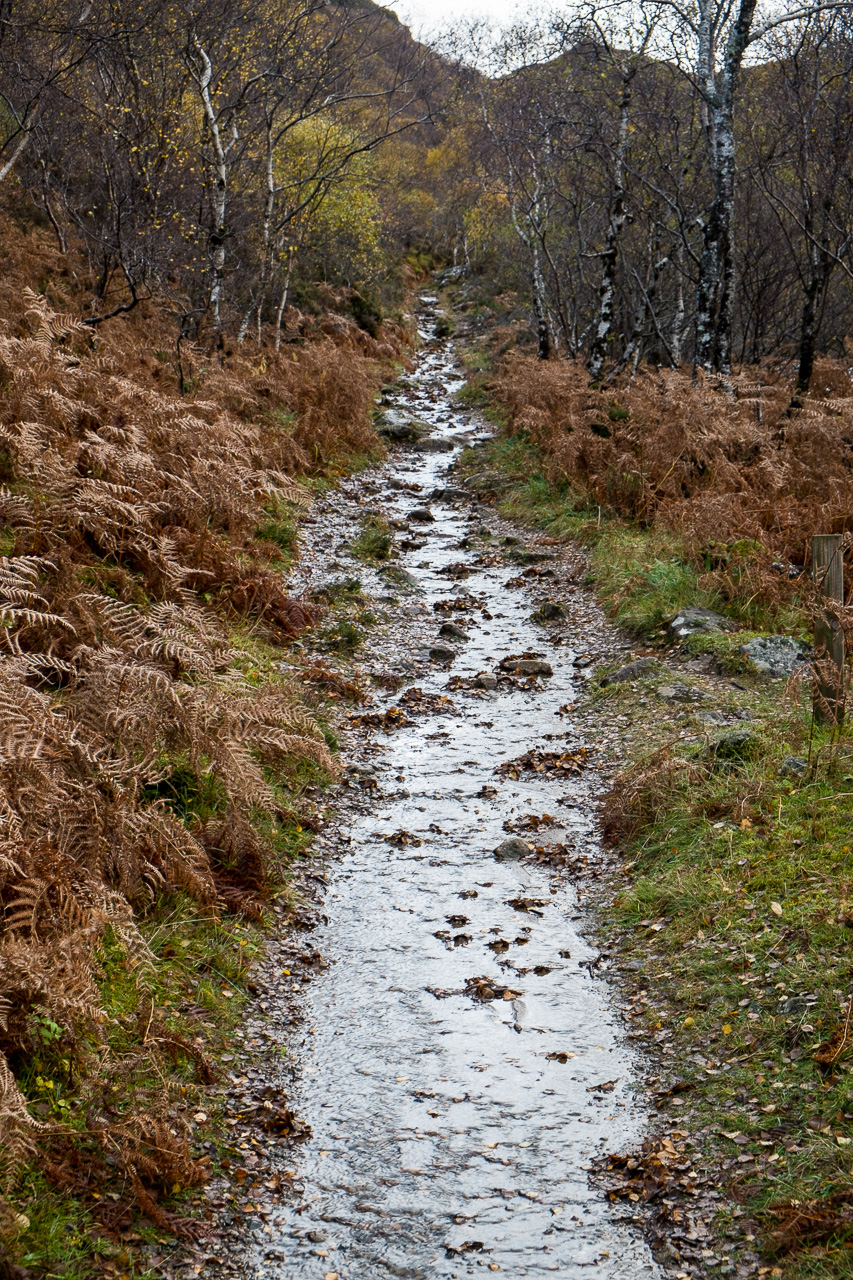
My route started along some lovely woodland tracks in Inverie Woods before arriving by the deer fence on the on the lower western slopes of the hill. From here I worked my way up rough and boggy ground that wasn’t too steep but slowish going at times. It was one of those walks where the summit seems to recede as I got closer. An hour and a half into my walk I decided I couldn’t give myself much longer, so pressed on to the next rise and decided I’d make images from there, come what may.

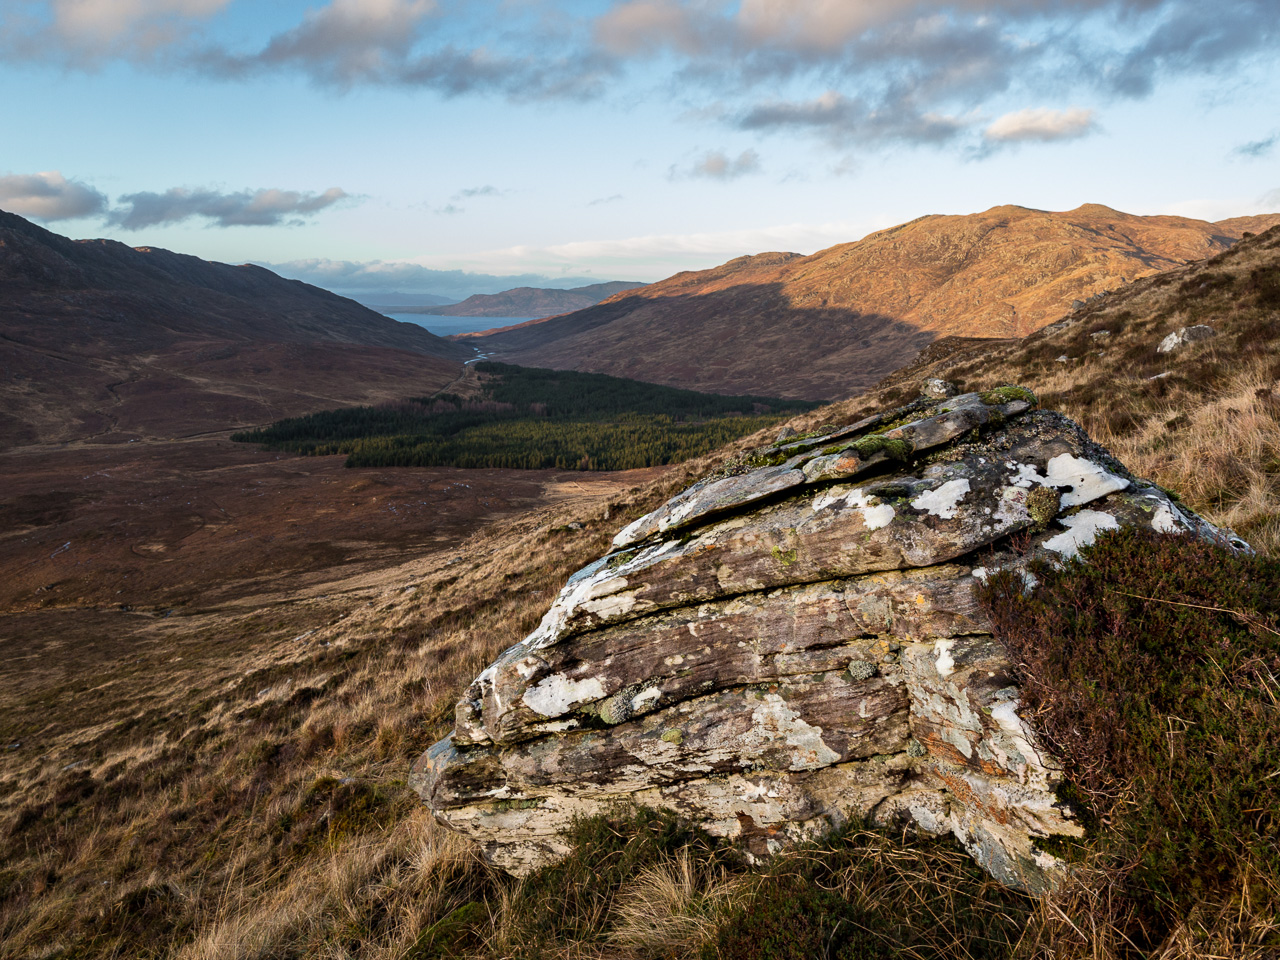
A rock and a view do not a great picture automatically make. With time too short for exploration or to finesse this composition - needs a step backwards to make that massive boulder a bit smaller at least! - this quick snapshot, handheld is but a memory of my hill climb.

Several large boulders gave me something to focus on for some foreground interest. To be honest I find it difficult to put my heart into making images that so often amount to no more than ‘distant view with a rock on a lower third’. At times I think we can get a bit too desperate for foreground interest that we’ll use just about anything to anchor the image.

My view is that unless it’s in some way worthy of inclusion then I don’t see much point in including it – illusion of depth, or no. I remember Bruce Percy telling me “Find a rock that you love”. If you don’t love it, leave it.

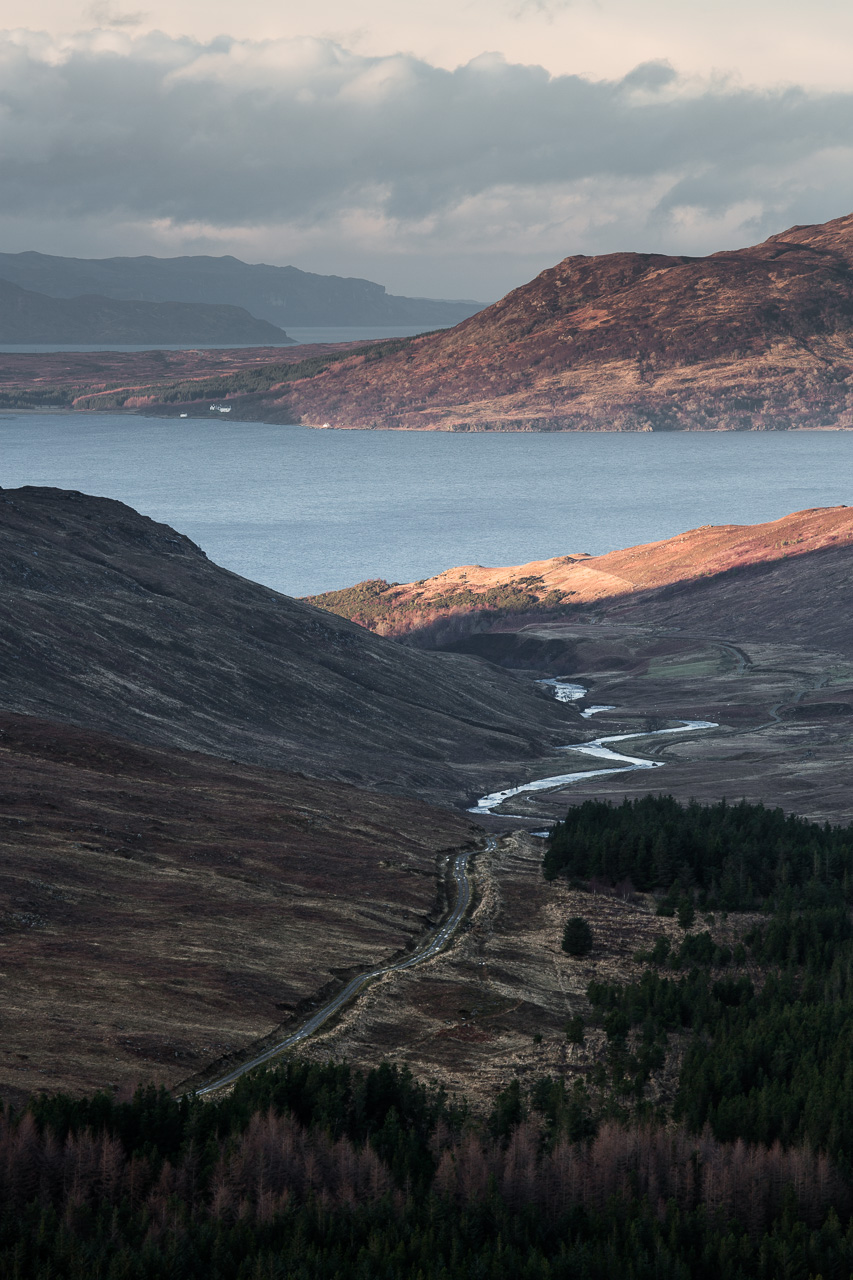
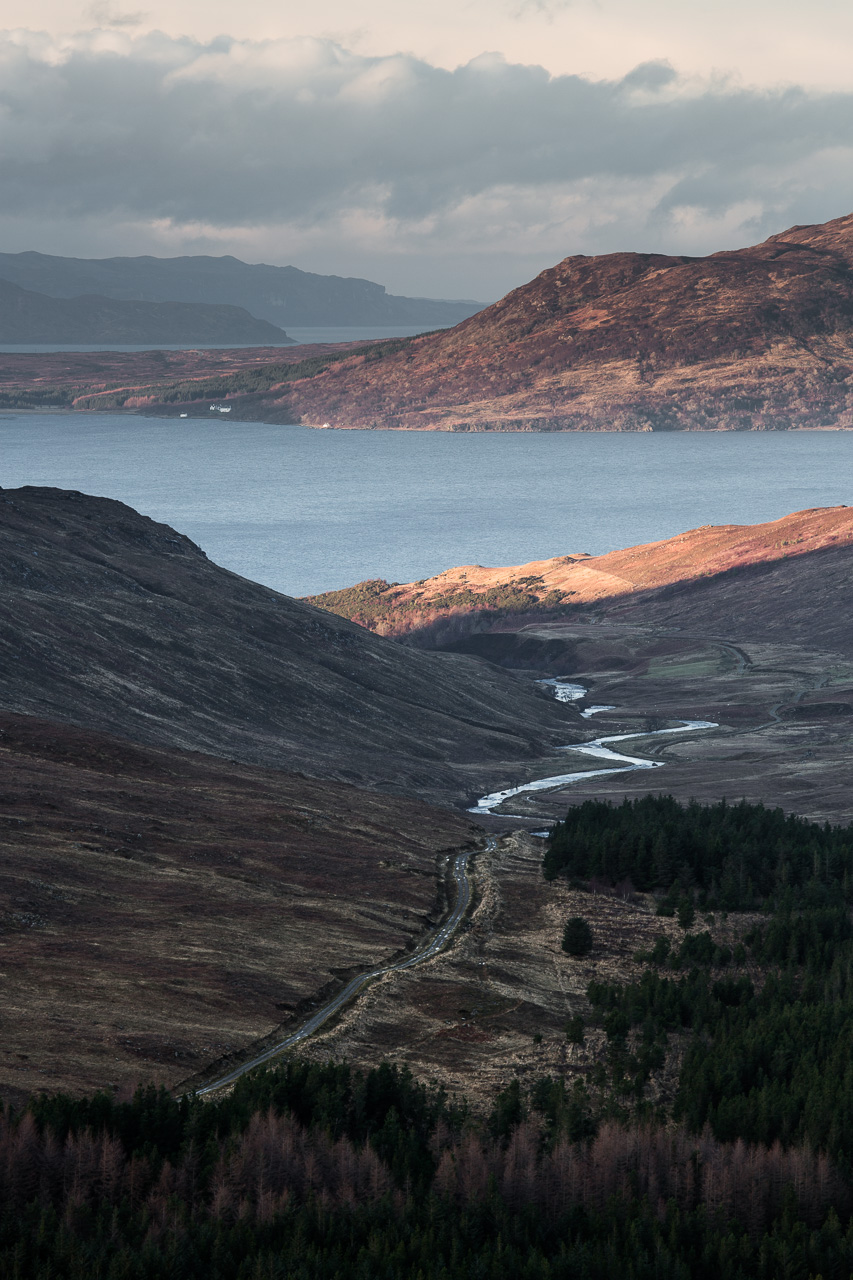
This longer shot down the glen should have the Black Cuillins of Skye somewhere under that distant cloud. I quite liked how the road turned into a river snaking down the glen.

Again short on time (spot the trend) I just had to make something – anything – for a few minutes before starting the trudge back down the hill. Having done this so many times I don’t think this is a lesson I will ever learn. The pattern goes thus: I’ve only got a couple of spare hours. I want to climb a hill. I expect that once said hill is climbed that the most unique and sublime view will reveal itself. 2 hours later it doesn’t. I quickly take a photo of "a rock on a third" and start back down the hill bemused that it all went wrong (again).

Not only is the walk ruined – by racing to position and not enjoying it for itself – the photography is ruined by having too little time to fully explore the landscape and my response to it, returning with little more than a snapshot.

So I’m making this note to myself to either focus on the walk, take longer, or walk a shorter distance if I want to prioritise the photographs.

On this occasion I probably would have been better exploring the woods at Inverie, but a large part of me felt the story of Knoydart is untold without some mountain scenery. Better yet, perhaps I should’ve just enjoyed the walk in a beautiful part of the country without worrying about making images.

F-Stop Guru

The longer walk gave me the opportunity to try out a new big of kit that my wife gave me for Christmas - an F-Stop Guru backpack. I’m a huge fan of F-Stop gear. I’ve used the larger Tilopa BC for 3 years now and have always thought it’s as close to perfect as I can imagine any one bag getting. Sometimes though it’s just a bit too big and unwieldy, and gets pretty heavy at full load.

The small daypack that I used for commuting or to carry a small load  had just fallen to bits and needed replacing so I looked at the Guru. With my previous bags I had the challenge of fitting my Fuji XE1 in with lunch boxes, laptops, books, etc. Well the Guru also uses the removable Internal Camera Unit (ICU) system of the larger bags so that I can have a dedicated and protected space for camera gear, and carry all of the other stuff I need.

I love the modularity of the F-Stop system. I can put a Medium ICU (same as I use in my Tilopa) with my Canon 5D3 and 4 lenses, or a Small ICU with the 5D3 and 2 larger lenses, or I can put in a Small Micro ICU which accommodates the smaller XE1 with room for a few more lenses. With the Medium ICU I have little room left for non-camera gear in the main compartment but with the Micro ICU I have lots of space, so I can tailor the pack to my needs - from carting loads of camera gear to carting loads of non-camera gear but still having a camera with me. Such a simple, no brainer system but it’s amazing (if pricey!).

The Guru also has a number of good sized pockets and pouches, takes my 15” MacBook Pro and feels really comfortable and well balanced on the back. It’s probably my new ‘if I could only have one' bag rather than the Tilopa, the size of which encourages me to carry more gear than I need most of the time. I’m very happy with it.

The only major downside of the Guru is that it doesn’t have dedicated tripod attachments. My extra large Gitzo tripod already dwarfs the Tilopa when strapped on and so attaching it to the side isn’t really feasible. This is only really an issue for longer excursions where the Tilopa will remain my main bag, I don’t mind carrying my tripod in my hand for a couple of miles.

I’ll write a proper review of the Guru - and the Tilopa for that matter - in the near future.

Magic Gear?

This was also a chance to take my Canon 24-70 lens for a good workout. Initial reaction is that it is super sharp especially in the corners - a noticeable step-up from my 24-105mm workhorse - but also that 70mm is quite limiting as the longest focal length for how I work. I found myself twisting instinctively for more reach to find I had none, and that extra 35mm makes a big difference. Better sharpness or better reach?

I’ll get used to changing lenses more often for more reach of course but, as I already knew, the choice between these two lenses isn’t clear cut. More time with the 24-70 will clarify my thoughts.

In the meantime I’ll reiterate my view that it’s quite rare that a single piece of equipment will magically improve our images. Often people rave about gear and I can't help but feel they are justifying their choices and the expense (see Guru comments above! :)). In most cases there are better ways we could improve our images than by buying new gear.

In Closing

Anyway there’s a few thoughts on my trip to Knoydart. It’s a beautiful part of Scotland, with a lovely feeling about it and a very welcoming community. It was great joining in with their Hogmanay celebrations. It was a cracking night and they definitely know how to party up there! It wasn't a hugely productive photography trip and I include the images here to show my failings rather than my awesomeness. But it was a time for my family and I don't mind coming home with little to show.

I think to make the most of Knoydart photographically you need more time than I had and a bit of legwork. There was a beautiful painting in our room at the Knoydart Lodge (which I can highly recommend; website) of a view from Sgurr Coire Choninnichen across several small lochans (on the Flats) looking towards the Inner Hebrides. I would love to go up and see it myself. I may even leave the camera behind. Maybe.

Using Lightroom with a NAS Server

Earlier in the year I bought a NAS (Network Attached Storage) Server and started using it to store my images on.

I've since had a number of people ask me about my set-up so here's a short post about how to use a NAS for Lightroom and your images.

There are lots of NAS models on the market so I'm not able to cover set-up and configuration in this post. The most popular ones have quite a lot of information about them on the internet already. I have a Synology DS413 and the Synology website has good information about setting it up.

How Lightroom Works

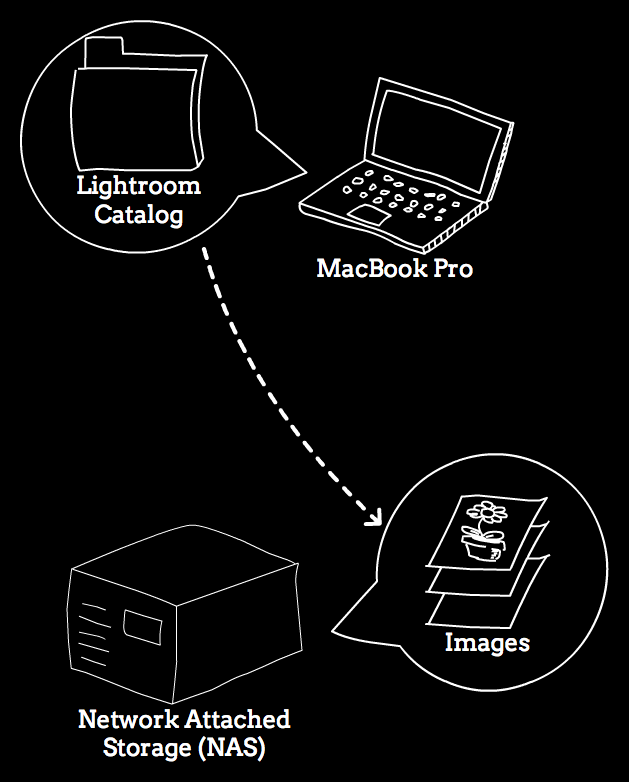
Usually the Lightroom catalog and image files are on the same machine

You may be aware that a Lightroom catalog is a database that stores the locations of your images and all of the changes that you've made to them in Lightroom.

It doesn't actually store the images within the catalog. Instead when you import images into Lightroom, it puts them somewhere on your computer that you ask it to and then stores the location within the database. When you view an image within Lightroom it goes away to that location to load the file up.

Most of the time Lightroom and the images are on the same computer so it's not something that we care about - though when we run a backup we need to make sure that we include both the catalog location and the image location.

Lightroom Doesn't Like Networks

When it comes to using a NAS the first reality to deal with is that Lightroom doesn't like networks. To be more specific you can't open a Lightroom catalog that's stored on a network. This is due to the way that Lightroom has been designed and its underlying, single-machine technology. To be honest even if you could open it from a network location then the performance would be frustratingly slow anyway.

However the good news is that Lightroom can reference and use images that are stored on the network. So when it comes to a NAS our strategy is to have the Lightroom catalog on our local machine and store the images on the NAS.

Before doing anything please make a fresh backup of your Lightroom catalog and image files in case something goes wrong!

Copying your Images to the NAS

Assuming that you currently have your images on the same machine as your Lightroom catalog, the first thing that we need to do is copy the images to the NAS. On my NAS I created a dedicated 'shared folder' which looks just like any other volume on my Mac. This way I can make sure that all of my images are in one place and without any other junk on the drive.

I always advocate having a single top level folder ('Photos') with a date-based hierarchy of sub-folders underneath. This makes management of image files much easier - backing up, locating and in this case moving images. All I need to do is copy the 'Photos' folder from its current location to the dedicated shared folder on the NAS.

Screen Shot 2013-12-13 at 13.22.56

Tell Lightroom to use the NAS Images

Once the image files have been copied over to the NAS we need to tell Lightroom to to look for the images on the NAS instead of their old location. Again having the images under one folder makes life easier - we just tell Lightroom to look in the 'Photos' folder on the NAS rather than on the local drive. To do this follow these steps.

Screen Shot 2013-12-13 at 11.33.36 copy

Screen Shot 2013-12-13 at 13.23.27

Untitled2

Lightroom will now load images from the NAS, and that's that. The Folders pane in the left hand panel should now list your NAS volume rather than your local hard drive.

It's worth checking that you don't have any missing files at this point to make sure everything has transferred properly (go to the Library menu and then 'Find All Missing Photos').

One thing you must remember to do is update the destination when you next import files otherwise they will be imported to the old location. When in the Import dialog, change the Destination folder to appropriate location on your NAS.

Accessing your Images Over the Internet

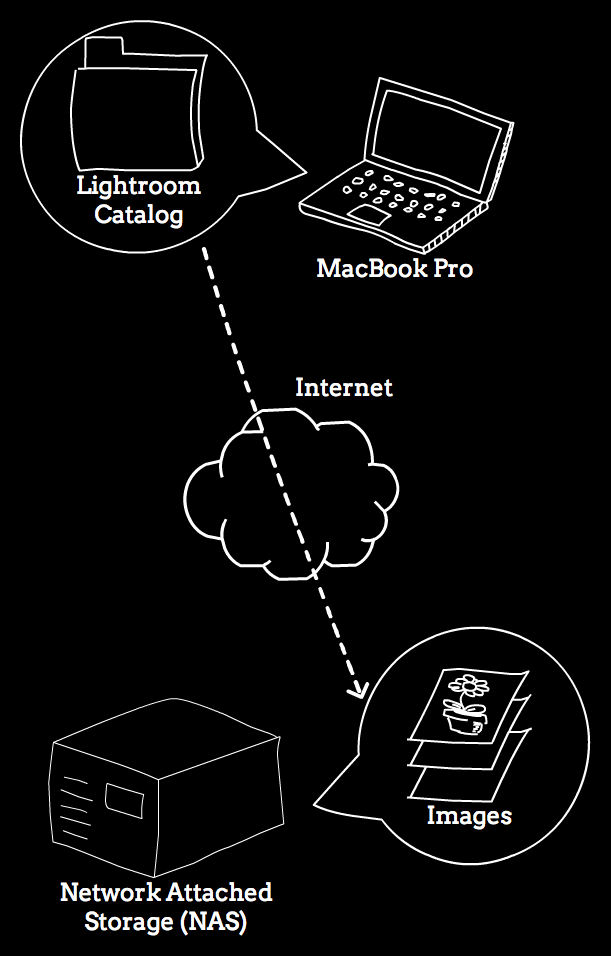
One great advantage of storing your images on a NAS is that you can access them over the internet. Obviously this is going to be much slower than on your local network, but it's a workable solution if you need them.

The first thing you need to do is make your NAS visible to the internet. The steps required to perform this vary from NAS to NAS so you'll have to check the manual/internet for your particular model. This is a key feature of all NASs however so should be pretty straightforward. If you have a Synology NAS you can find the instructions here.

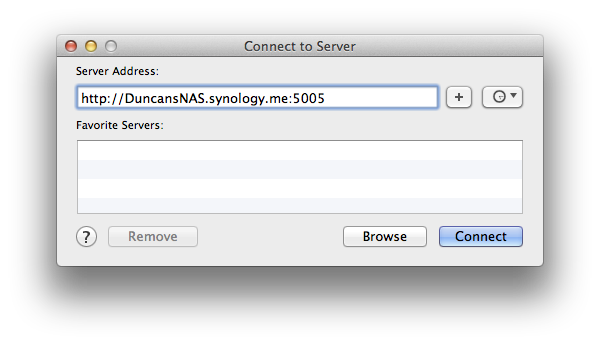
Once you've done that you need to connect to your NAS. On my MacBook I go to Finder and then Connect To Server (Cmd+K).

Screen Shot 2013-12-13 at 13.53.49

Type in the address of the NAS that you will have created in the previous step and press Connect. All being well a new volume appear in Finder for the NAS, and you can browse and open files over the internet.

To then get Lightroom working with the image files on the NAS, we follow the same steps as above. In Lightroom use ''Update Folder Location' on the top level 'Photos' folder. When the 'Update Folder Location' dialog appears we choose the 'Photos' folder on the NAS volume that we've just connected to.

This will again update Lightroom to use this location when it tries to find any image files.

internet

When you get back home remember to repeat this step to update the folder location to use the local NAS volume rather than the 'NAS via internet' volume.

As a final point though the above works fine and is the simplest way of using a NAS I found the performance disappointing compared to what I was used to with local hard drives. Instead I've implemented a hybrid system whereby I store some images on my internal SSD drive, my image archive on an external RAID drive and then back all of that up to the NAS which then gives me access to my images over wifi or the internet.

It's more complicated and requires some more technical knowledge so it's really not for everyone. I'll write a follow-up post outlining how my set-up works (including the system of backups I use) for anyone that's interested.